Showing posts with label dress. Show all posts

Friday, 13 May 2016

The Texan flower frock


So its been a while!

As part of my MeMadeMay pledge (to wear totally me made except underwear), I added that I wanted to make 4 new garments and write 4 blog posts. I always find that however much I enjoy doing something, sometimes I need a push to do it if I haven't done it in a while!

I have been getting into the whole decluttering/ minimalism thing recently (I have marshalled my thoughts into a separate post to come) but overall I want to use patterns and fabric I have already rather than buying more. So this uses a piece of fabric i bought from Joanns when I was in Dallas last year. I met up with Brooke from Custom Style and she kindly took me shopping (and burrito eating), armed with loads of coupons so I could take full advantage of the cheap prices vs the UK.

This is a quilting cotton in a gorgeous dark floral print.  The selvage says it is a Joanns exclusive. I don't have an issue with quilting cotton for dresses but I have generally used "designer" ones. This is definitely less good quality than those. It's much stiffer and I found a few flaws in it (after i had cut unfortunately!). So it needed a pattern that didn't need drape and I chose the Deer and Doe Belladone which i picked up in their Black Friday sale back in November. The a-line skirt works fine in the stiffer fabric.

I didn't realise the hands on waist was causing  back wrinkles and hubby obv didn't notice (grr bad bloggerhusband)

I may be the only blogger who has made this up with the plain back! I had intended to make the open back version but when I muslined I wasn't sure that it was very me. I might make another version for summer with the open back though.

I did my usual round of alternations - a small FBA, lengthening the bodice by 1.5", lowering the bust darts by 1" and lengthening  the skirt by 2". After muslining I lowered the bust darts another 1".  
In the final version, the bodice could probably be 1" longer and the skirt would hit slightly closer to the knee. However it is totally wearable as is and I'll make this change on future versions.

Ignore derpface please


Sorry for the phone pics in this post. On the day we took these we went to Windsor, hubby brought his Go Pro and assured me the pics would be brilliant. However if you have ever seen your backside in a fisheye lens, you'll realise why people normally use them for landscapes! So back up phone photos it is!

Tuesday, 30 December 2014

My Christmas dress


This is my last vintage pledge make of 2014 and number 4 of the original 5 I pledged.

Fittingly, the pattern came from Marie at Stitch Odyssey as she added it to the vintage pattern pyramid before it came to me. I fell in love with the gorgeous asymmetric neckline as soon as I saw it and snapped it up as my pick from the parcel.

Why can't I flip this to landscape?  Grrr Blogger!


I bought this John Kaldor fabric from the sale at Sew Essential a while ago and had it earmarked for this dress as soon as I nabbed the pattern. It was marked as a french crepe. It washes fine and pressed reasonably well with a medium iron.  It's lovely to wear and barely creases.


The pattern was for a 40" bust and I thought I was going to have a bit of work to make it fit, but it was actually pretty good from the start. I lengthened the bodice and skirt by 2" each and lowered the bust darts by 1.5". Other than lowering the darts, the main adjustment was a square shoulder adjustment. I took it in at the sides once it was constructed which meant a bit of tinkering with skirt pleats to get them even. I'm never keen on that just above the elbow length of sleeve so I shortened by about 1.5" to make it easier to wear with a cardigan.

As usual I didn't quite think how the drape of the fabric would affect the neckline and the piece at the side. It meant this piece was a bit floppy and didn't quite sit properly. I fused an additional piece of interfacing to the facing and the bodice front which fixed the problem.

Closer shot of the neckline (with bonus derp-face)

I didn't add the bow at the neck in the end. I may make it and attach it with a pin - in my experience these details don't do well in the washing machine so making it removable seems sensible.

I used Hug Snug to make a waist stay and also machine sewed it around the skirt and sleeve hems before catch stitching by hand.  This was really time consuming on such a full skirt but it gives a lovely finish.

Monday, 22 September 2014

The long awaited Moneta


I sewed this forever ago, but as you have probably noticed, finding time to blog things recently has been difficult!

I made this Moneta from Colette Patterns for our holiday to Sicily back in August, and it's great to look back on the beautiful scenery and lovely weather!  The pictures are on the island of Stromboli (an active volcano) where we went on a boat trip.

There seemed to be a lot of relatively similar knit dress patterns released by the indies this summer, and although I probably could have hacked this myself, I decided to go the convenience route.  I also love this neckline - it's perfect for me, and the downloadable collar options sealed the deal!  Annoyingly I don't have a pic of the cute crossover collar at the back so you'll need to imagine.


It's a simple knit bodice with no darts and a gathered skirt.  I lengthened both the bodice and skirt by 2" based on measuring the pattern pieces - this is a standard adjustment for me,  The only fitting issue I had was some gaping under the arms.  To get rid of it, I pinched it out at the side seam - it's not perfect but it worked OK.

I'm not sure about the gathering method used on the skirt - it calls for clear elastic to be stretched and sewn to the skirt which gathered it up when the stretch is released.  It really wasn't that easy to do.  I'll probably give it another go on another version I have planned, but I suspect that other gathering methods may be just as easy.

This pattern is a total fabric hog for such a simple knit dress!  I had bought 2.5 metres of this cotton jersey from Goldhawk Road without checking the fabric requirements, but as it's a self lined bodice, the pattern calls for close to 3 yards.  With my length adjustments, I wouldn't have had enough to line, so I overlocked the armhole edges and turned inside.  I finished with a double needle.


An arty shot from my husband - he loved that the writing on the wall matched the dress!
I love this dress - the fabric is quite weighty and the skirt swishes really nicely,.  It's quick and easy to make, and I have a winter version in the works now that the weather is getting colder.  I had plans for a striped version too but didn't manage to find the right fabric.  Maybe for next summer!


Wednesday, 20 August 2014

Minerva Blogger Network - The Polkadot Frock


I love polkadots but realised recently I have hardly any polkadot items that are in regular rotation!  When I saw this lovely navy polkadot stretch cotton on the Minerva site, I decided to rectify the situation.

The fabric is a really lovely weight – not too stiff but not especially drapey.  It’s not as smooth as sateen but has a lovely feel to it.  Of course, the stretch makes it really easy to get a good fit and it’s lovely to sew with.


I’ve been meaning to make another Anna dress for ages – no idea why I haven’t got around to it before now!  Probably just distracted by newer, shinier patterns!  The boat neck is my favourite neckline and I love the fit of the bodice and the kimono sleeves.  It’s also super quick to sew with no sleeves to set in..  I wanted to change up the skirt, and while on holiday, I realised that the full skirt from my Mad Men vintage dress pattern is pretty much my perfect skirt style so I used that.

I had already fitted the Anna bodice, lengthening by 2”, doing a ½” FBA and adding a couple of inches to the waist.  I measured the waist, subtracted the seam allowances and adjusted the skirt pattern to ensure that it was the same size so that the side seams would match up.  In a fit of paranoia, I added an extra 2” at the waist which I later ended up removing.

I had added the pockets from the Emery pattern as I really like the way they are joined into the waist seam and so don’t flap around like some side seam pockets can do.  Unfortunately when I had to take out the extra at the waist, I had to remove the pockets to make the skirt sit correctly over the hips.  But I’ll definitely use them against next time.


I must remember next time that the skirt on this pattern Is really long – I took 5” in length off, leaving  2.5” hem and I’m 5’9”.

All the seams are finished with overlocking.

I had planned to do a blind hem by machine.  I spent some time working out how to do it and then decided to sew in by hand using a catch stitch.  The end result is lovely but this is a seriously long hem to sew by hand!

I’m really happy with this dress – I can wear it now with bare legs and later in the year with tights and boots so it’s going to be really useful.

If you want to make a dress like this, the kit from Minerva includes 3m of polkadot stretch cotton and an invisible zip (links to the individual items rather than the kit link while the new website is under construction):


Saturday, 19 July 2014

Minerva Blogger Network - Vintage shirt dress

Hot on the heels of finally posting my reveal of my party dress, it's time for my July make.

Cat photobomb!
I've had this vintage pattern in my stash for about 6 months and just fell in love with the notched yoke and cute collar so it wasn't going to languish unused for long!

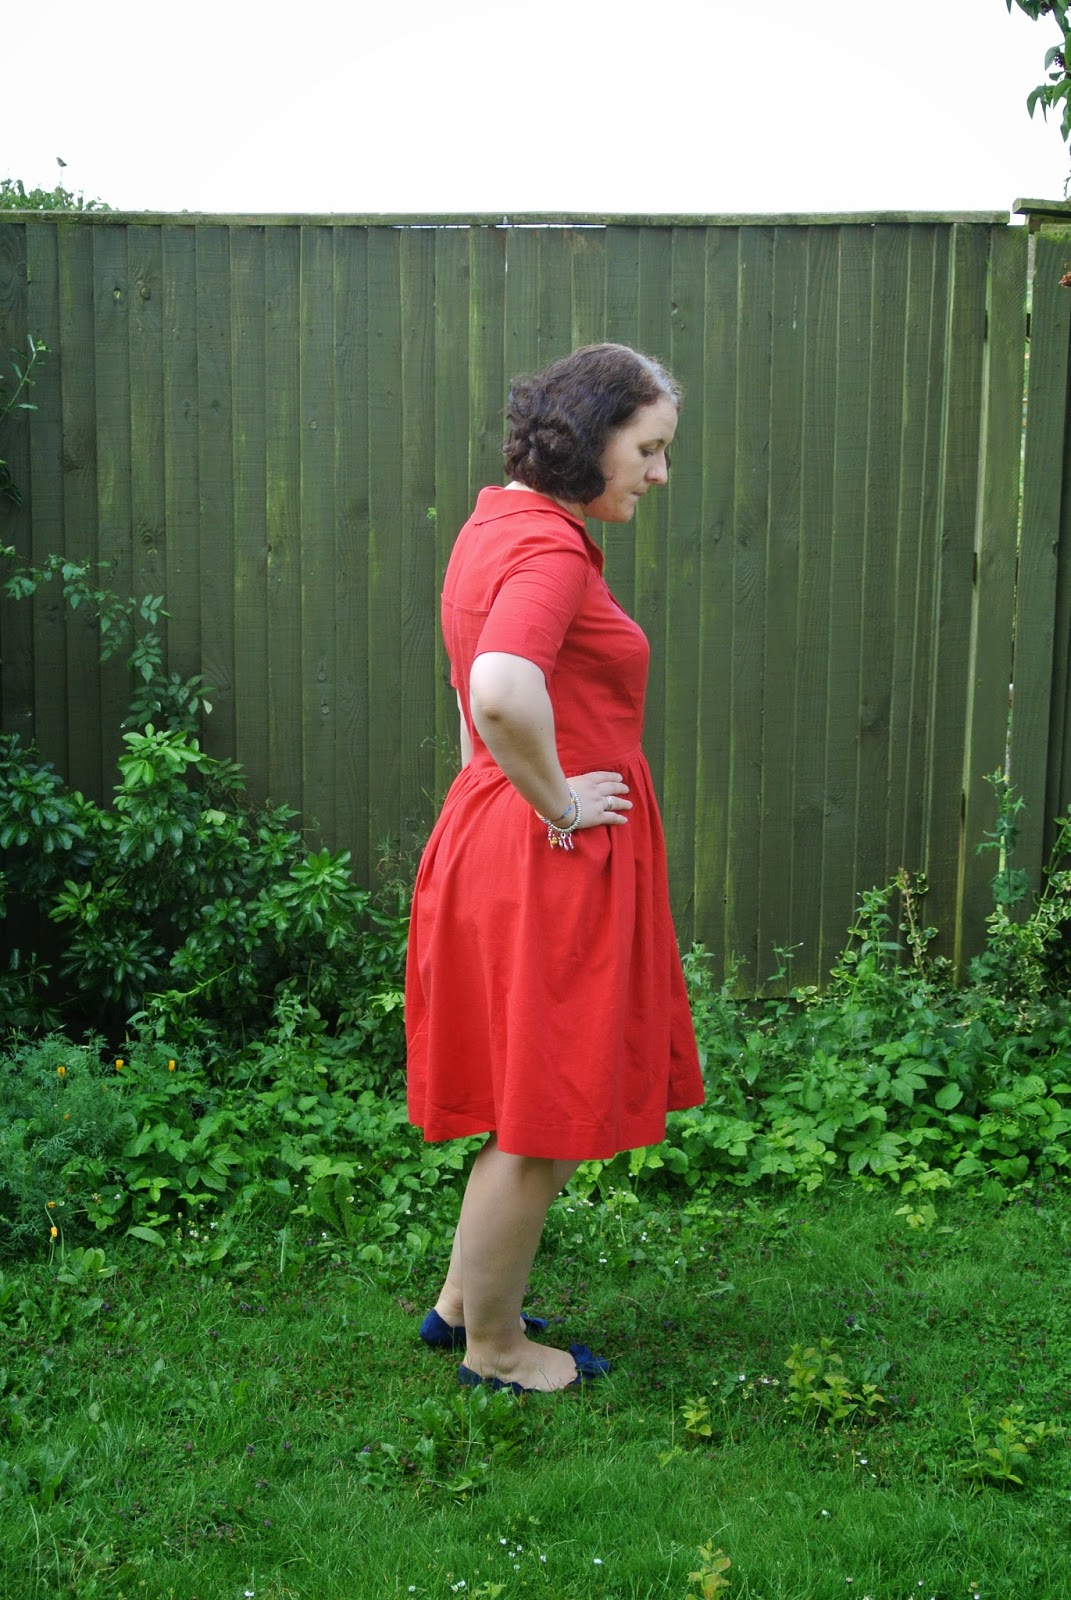
I ordered some linen look cotton that Kathryn used for this dress, and it's really lovely.  It's lightweight but with a lovely textured linen finish (and it doesn't crease as much as linen does either!).  I wore this on a pretty hot day and it was lovely and cool.  For the £4.99 a metre price tag it's great and comes in a huge range of colours.  I went for red, and it's just the colour of red I like - not too orangey.


As I was running out of time on this make, I tissue fitted the tracing and found that my usual adjustments were fine, so I did a small FBA and lengthened the bodice by 2".


Although there are a huge number of pattern pieces for the bodice - the front and back both have bodices, yokes, bodice facings and neck facings, this came together really quickly and easily.  The construction method to get the lovely notches involved attaching a bodice facing piece to the bodice piece which is turned and pressed and then topstitched to the yoke piece.  I couldn't quite understand it reading the instructions until I actually tried and it was pretty easy and gave a great finish.


I decided not to use the pleated skirt pieces that came with the pattern as the bottom hem would have measured 83" which seemed crazy!  The skirt pattern had 3 pieces - 2 side pieces and a back piece.  I went for a simpler gathered rectangle using the Emery pattern pieces as a guide to size and length, and positioned the seams at centre front and centre back to allow for the front opening.  I used the same method of finishing the skirt edges as the patterns uses - the top edges under the notches (which I transferred from the vintage pattern pieces) are finished using bias tape and turned under, and then the gap is left open.  I stitched on a couple of hooks and eyes in the hope of holding this closed but as this hasn't been all that successful, I think I will add another couple of buttons on to avoid knicker flashing (and contrast bias tape flashing - this cherry print bias is adorable but I probably would go for matching stuff with hindsight!).


The pattern calls for covered buttons, which I ordered as part of my kit from Minerva.  However I had a total fail with these!  The teeth didn't seem to want to grab the little circle of fabric and when I finally got it all tucked in, the back wouldn't stay on - anyone got any tips on how to use these?  I went with some buttons from the stash instead.  The front of these buttons felt a bit fancy for the style, so I flipped them over and used the other side.

The only other change I made was to move the button placement a bit as it was more flattering to have them starting lower down.

I'm really happy with this dress - it's lovely and cool and easy to wear, and it feels like a vintage dress on.  Perfect for the warm weather we've been having (long may it continue!).  And this is item number 2 for my Vintage Pledge!


Minerva are working on their website currently so rather than one link to my kit, here are the links to the individual components of it if you want to make a similar dress for yourself!


Wednesday, 11 June 2014

Minerva Blogger Network project - Sneak Preview!

Unless you've been living under a rock, you'll have heard about the Minerva meet up on Saturday.  If not, details can be found here - it's going to be a great day!


To celebrate, all of us bloggers on the network are making a party dress, which we will be revealing on the night (so watch out for pics on Twitter and Instagram) as well as on the Minerva site.

Here's a sneak preview of mine.

It's a Flora/ Mortmain mash-up - Flormain? Mortra? (sounds like a Thundercats villain!)

After hankering for a lace dress for ages, I chose a beautiful pewter sequinned lace with a navy underlining.  You can see in this pic how they actually look together - I love how the pattern of the lace really stands out with the dark lining!


Looking forward to showing you my final dress!

Wednesday, 21 May 2014

Minerva Blogger Network - The Swirly Smoke dress


I really love this dress - It's a great pattern, the Gather Mortmain in one of my favourite fabrics, cotton sateen.

Cotton sateen is great to work with - it's so easy to sew and that little bit of stretch makes it easy to get a great fit.  I got a swatch of a different sateen as part of the Minerva Swatch Club and decided to look at their range.  I picked this digital print as I love the colours - the swirls of purple and blue are mixed with a lovely bright turquoise.


I decided not to pattern match this exactly, but I lined up the turquoise lines in the print on the bodice and skirt which was an easy way to get continuation of the lines in the design.

This is my first Gather Kits pattern and it definitely won't be my last.  Other than adding 2" of bodice length and 2" to the skirt, I had no other alterations and it fit me perfectly! I made the sleeveless version.  I did take in around the waistband piece after it was constructed as it was a bit loose, and I may take in a little bit more at the waist after wearing.  But it is so comfortable and quick and easy to construct.  I didn't do the exposed back zip as I'm not a huge fan of them, so I replaced it with an invisible zip.


The box pleats on the skirt are really easy to do and look great.  The separate waistband piece is flattering and allows the fit to be adjusted quite easily.  I didn't have to curve the waist darts as I often have to.

If you want to make your own version, you can get a kit from Minerva here with fabric, an invisible zip and matching thread.


Friday, 2 May 2014

The Route 66 Flora

Awesome print matching on front seam not clear but it's in the middle of the green lozenge!
 
So I really should have taken pics of this dress in a desert or at least somewhere more urban than a bluebell wood, but needs must!  I called it the Route 66 dress as the print reminsd me of rear view mirrors in old American cars, like in Thelma and Louise.

This is my second version of the By Hand London Flora dress, with the first version (with the tank bodice) blogged here.

I have seen a lot of people complaining about the bodice coming up very big on this but I didn't find it too bad - maybe I am bigger than I think I am!  I lengthened the bodice by 2.5", lowered the bust darts by 1" and did my ususal 1/2" FBA.  I wasn't sure whether it was going to gape or not based on the muslin, but it did so I tacked the crossover point down flat.  The skirt is lengthened by 2" as per my previous post. I could take the side seams in a bit but it's comfortable for a big dinner!


The fabric is an african wax print which I bought from Middlesex Textiles.  I have been loving wax prints for a while now and seeing Chinelo on the Sewing Bee every week with gorgeous prints definitely inspired this dress!  I usually find it difficult to find them in colours that I would wear, as they are often very warm tones.  But Middlesex Textiles has quite a few in blues, pinks and purples.  All the wax prints come in 6m lengths (a helpful twitter person told me that this is the length needed to create the traditional african dresses and headgear these fabrics are often used for), so the prices are pretty reasonable.  I think this one was £16 for 6m, so under £3 a metre. I've seen different weights (base fabrics?) for wax prints.  This is like a traditional cotton but I have seen ones that are smoother, more like a lawn.  You do need to beware of width though - the fabrics are narrow, like quilting cotton. 

What centre back seam?
 This meant I had to add a seam down the front  of the skirt.  I made a big attempt at pattern matching on the skirt and don't think I did too badly - it's only slightly off at the zip, but not enough to unpick (and a good invisible zip insertion does not get unpicked, amirite?).  Perhaps I should have paid more attention to the pattern matching on the bodice though.  The pattern isn't symmetrical, and does have a right way up (the lozenges - is that the right word? - are wider at the top so I couldn't cut upside down).  I went for a line of green lozenges running down the straps, but perhaps I should have tried to match the yellow one at centre front?

The bodice is lined in black cotton lawn.


I really like this dress - it's pretty much as I envisaged it in my head.  It will work in the summer with bare legs and sandals or pumps and for cooler weather with tights (c'mon summer, bored now! There was a massive thunderstorm happening overhead while these were being taken). I am going to make a lace version for an evening event coming up and wondered if anyone could help me get rid of those wrinkles at the front crossover piece?  Would I just shave a little bit off the top of the front wrap pieces below the centre front? Or is the bodice just a little bit too roomy? Or are those wrinkles just part of the style of a wrap?

Any advice appreciated as usual!

Wednesday, 23 April 2014

Fella, this is a line i ain't biting. That's a bona fide offer. Well, with a little moonlight and roses...


So you know what this post is going to be about! Unless you have been living under a rock (or at least not keeping up with your sewing blog reading) you'll have heard about Sew Dolly Clackett organised by the fabulous Sarah from Rhinestones and Telephones. Sarah  had the great idea to celebrate the upcoming nuptials of the very lovely Roisin and Nic by making dresses in the style of Roisin herself. And let me tell you, that girl not only has great style and a presumably immense wardrobe/shoe storage area, she always gets a perfect fit and finish on her dresses. I've never seen her in one that looked less than perfect!

Anyway, enough gushing. What's the craic with this dress?


This is my second attempt at Christine Haynes Emery dress.  The first one was a total fitting fail that I blogged about here. So for this I went back to the drawing board, retraced the bodice and made another toile. I got some really helpful comments on my post before which helped improve this one. I lengthened the bodice by 2" and moved the darts down by 1". I did my usual 1/2" FBA.  One area that was a big problem in the previous version was the shoulder width. Based on measuring the previous one, I did a broad shoulder adjustment of 1" and a 5/8" square shoulder adjustment (which I often do).

I'm pleased with the fit. An extra 1" in bodice length wouldn't go amiss but it's pretty good as is!
I used the skirt (extra 2" length) and sleeve (widened by 1" to take account of shoulder adjustment and because it was a touch tight) that I had used before.

I am quite annoyed with the pics though - they were taken in a hurry before work this morning and the dress looks seriously wrinkly which it doesn't in real life.  Damn.


Now for the fabric. This was the hardest choice! How can you narrow down all the possibilities? Roisin says this is why she makes so many dresses! I wanted to reflect her style but also make something wearable for me, and much as I love her pin up girl dresses, they just aren't me! An idea had been brewing in my brain since I remembered asking roisin on twitter to recommend some fabric for a dress. She picked one of the prints from the Michael Miller Ahoy Matey collection for me, I think this one. So the nautical idea was there and a sale on nautical prints at fabric.com sealed the deal!

This is another Michael Miller fabric called My Favourite Ship from the Out To Sea collection.  N absolutely loves it. Of course my dress needs a name, so I asked her and she has called it the Neverland Pirates dress (from the cartoon series Jake and the Neverland Pirates).

I finished this dress with moments to spare due to a nasty 24 hour bug I had over the Easter weekend (that's prime sewing time dammit!). The hem was done at 10pm the night before and I did consider machining down the lining by stitching in the ditch at the waistline.  But then I thought WWRD (What Would Roisin Do?), stuck on an episode of Elementary and hand sewed it down.


Roisin and Nic are such a lovely couple and I'm proud to count them as friends. Wishing them all the best in their future married life together! And I can't wait to see the wedding dress roisin is making!

Monday, 31 March 2014

Mad men challenge - the Pensive Betty dress

After much debating over fabrics and discussion on Twitter, here's my entry to Julia Bobbin's Mad Men Challenge.


Pensive? Grumpy? Miserable? You decide.


I posted about my inspiration dress here. I used vintage Simplicity 4766 from 1954. I had originally planned to use the Anna bodice cut off at the bust pleats with a midriff panel added, but when I saw this pattern it looked perfect (and doubles up as a Vintage Pledge item!).


I loved working with this pattern. As it is a single size, there's so much information on the pattern sheets. I traced the bodice pieces to alter with my usual 1/2" FBA (and I did use a ruler this time!). I lengthened the bodice by 3" but I think that was slightly too much. 2.5" would probably have been fine. I made a muslin and other than needing a slight square shoulder adjustment it was perfect. I needed that after my Emery fitting fail!  Oh i also added 2" at the waist. Damn you slender 1950s ladies!

 
The fabric is a quilting cotton (I know, gasp in horror, but it's good quality and softened up really nicely after prewashing). It's Moda from the Vintage Modern collection. Although it's not a rose print, I think the red and pink flowers capture the feel of the original dress pretty well. It's surprisingly hard to find rose print fabric that's not just red.


It came together really easily. There was no mention of interfacing the facings but after consultation with Twitter I did (I guess convenient fusibles weren't around at the time). 

The pattern suggests using seam binding to stabilise the waist seam. After talking to the ladies on Twitter (again!) I decided to add a waist stay. It's just seam binding stitched to the waistline seam allowance and topstitched, fastened with a heavy duty corset hook and eye. I may add this into other dresses as it's really comfortable.


I used a side lapped zip as per the pattern and sewn by machine.


I made the skirt as per the pattern length but when it came to hemming I chopped a huge 5.5" off. Since I am tall I didn't think it would need shortening by that much! Worth checking if you are shorter and have limited fabric available as you could save a lot! I hemmed it to just below the knee as it was the most flattering on me.  The hem was hand catch-stitched - well you need something sto occupy your hands while you want Sewing Bee!


I love this dress and wore it to my sister in law's birthday party this weekend - I got lots of compliments!


Did you make a Mad Men dress?  Show me!

Thursday, 20 March 2014

The not-quite- right Emery


I wasn't sure whether to write this post but after much prompting on Twitter, here it is!

I don't have a lot of sewing fails really. I'm quite methodical and usually make a muslin but the end result here isn't good and I'm not quite sure why!

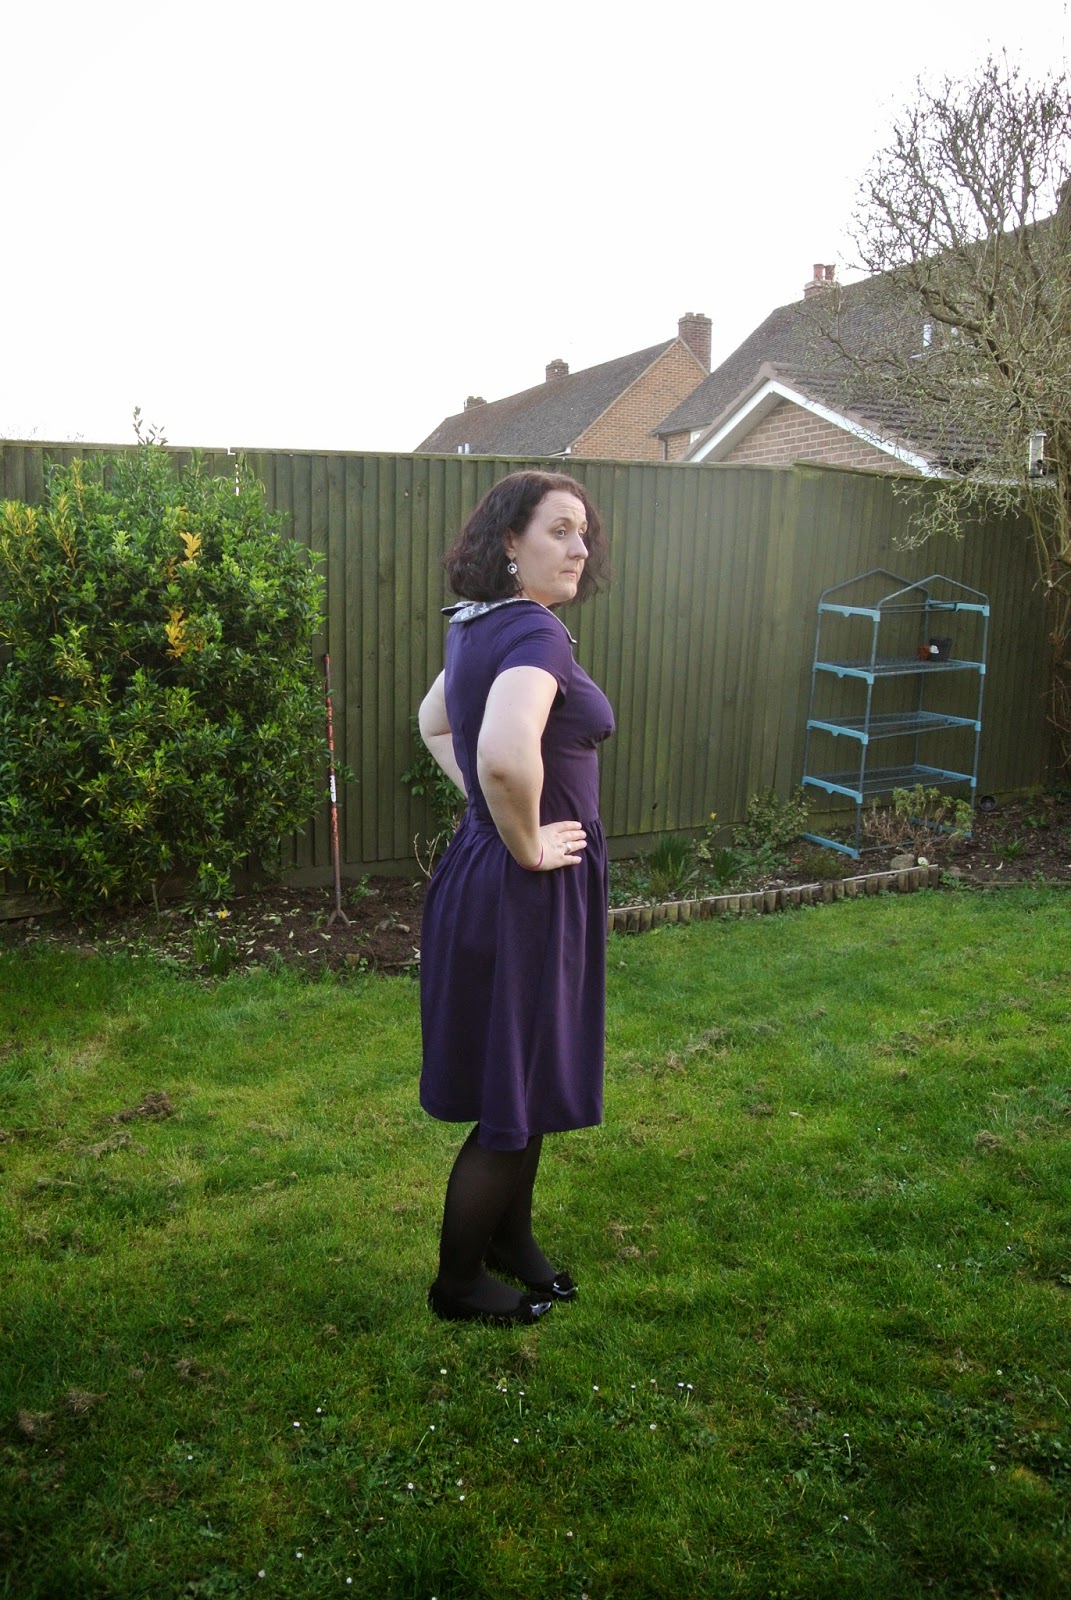
The pattern is Christine Haynes Emery dress. I love it so much and every other blogger has raved about it and the perfect fit (Roisin amd Tasha's versions are gorgeous). I bought some lovely but relatively pricy John Kaldor fabric in the Sew Essential sale in January and Emery seemed like the perfect pattern for it. I love a boat neck, could easily change up the skirt and there are collar options.
Luckily I decided to make a muslin using some cheap poly crepe I picked up. I had an idea in my head for a lace overlay on the collar and I used a silvery grey lace for this. 

OK so ignore my weird face - this is the only side pic
 
As the bodice is lined I used a navy cotton - the cheap poly against the skin would not be pleasant! I love lined bodices as in addition to looking and feeling nice, you can use them as the muslin.  I tissue fitted to work out length issues - I added 1" above the bust dart and 2" below and did my usual 1/2" FBA. I think this is where I went wrong however. I think I made the FBA too big (more like 1" - I really shouldn't eyeball. My eyeballs don't have a clue - or a tape measure) which accounts for some of the problems.  I suspect adding length above the bust was less correct than moving the dart down?  In the muslin the main issue appeared to be bagginess under the bust. I get this quite a lot and got some good advice to curve the bust darts to remove some bagginess. I think I made it too curved - probably due to excess at bust so it didn't press well. I did a square shoulder adjustment and added a little to the sleeve to match (and as I felt the sleeve might be a bit narrow anyway). I didn't muslin the skirt but added 3" in length after measuring.


The collar didn't attach easily either. I was easing the bodice into it a lot which gave some weird wrinkles - I asked about this on Twitter and no one else seems to have had this problem. I wonder if the crepe was stretching but the interfaced collar wasn't - the crepe stretching could account for a lot of the other problems!

I also didn't attach the  collar correctly - the centre front seam isn't in the right place when I look at other collared versions - Lauren and Kathy's and it doesn't press or sit very flat. I think this caused problems when I hand sewed the lining at the waistband. Also the shell seemed to need to be eased to the lining which suggests the shell stretched.

There were a few good things about it - the fabric has great drape and eased nicely into the waistband with even gathers. The sleeves went in perfectly first time. The invisible zip is perfect. 

The end result? A wrinkly pile of meh.


Just to be clear these are not issues with the pattern. It seems well drafted and the instructions are clear. I'm totally not giving up on it as I reckon I can fix the issues.
But I don't think this version is fixable and I suspect this is partly my too big FBA, partly the fabric and partly carelessness in attaching the collar and bodice.

What do you think? Could I /should I try and salvage it? Or start again with the right FBA? I'm not super attached to the fabric. It was and feels cheap and is tough to sew with and pin into. But I love the idea of the lace collar!

Can you give some fitting tips? Maybe a broad shoulder adjustment needed given the pulling at the shoulder? One observation is that the people who have blogged about getting a great fit were narrow across the shoulders which i am definitely not!  Or is it just not a good style for me and I should give it up?