Showing posts with label shirt dress. Show all posts

Saturday, 19 July 2014

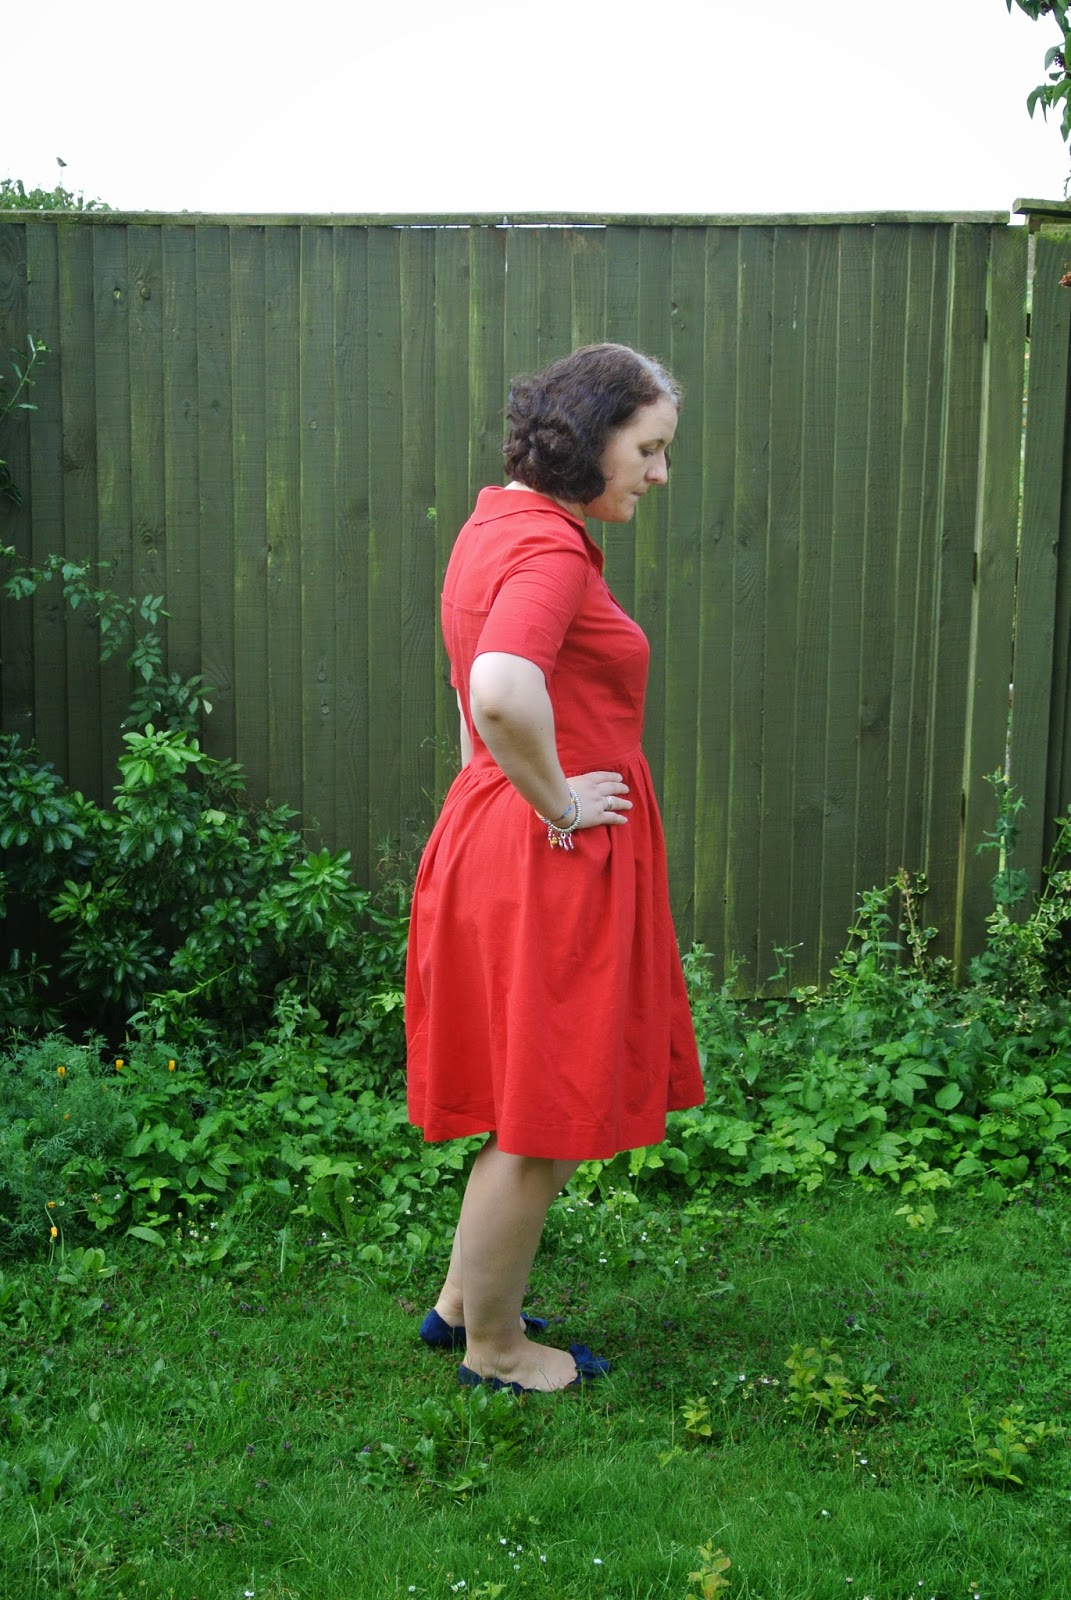
Minerva Blogger Network - Vintage shirt dress

Hot on the heels of finally posting my reveal of my party dress, it's time for my July make.

Cat photobomb!
I've had this vintage pattern in my stash for about 6 months and just fell in love with the notched yoke and cute collar so it wasn't going to languish unused for long!

I ordered some linen look cotton that Kathryn used for this dress, and it's really lovely.  It's lightweight but with a lovely textured linen finish (and it doesn't crease as much as linen does either!).  I wore this on a pretty hot day and it was lovely and cool.  For the £4.99 a metre price tag it's great and comes in a huge range of colours.  I went for red, and it's just the colour of red I like - not too orangey.


As I was running out of time on this make, I tissue fitted the tracing and found that my usual adjustments were fine, so I did a small FBA and lengthened the bodice by 2".


Although there are a huge number of pattern pieces for the bodice - the front and back both have bodices, yokes, bodice facings and neck facings, this came together really quickly and easily.  The construction method to get the lovely notches involved attaching a bodice facing piece to the bodice piece which is turned and pressed and then topstitched to the yoke piece.  I couldn't quite understand it reading the instructions until I actually tried and it was pretty easy and gave a great finish.


I decided not to use the pleated skirt pieces that came with the pattern as the bottom hem would have measured 83" which seemed crazy!  The skirt pattern had 3 pieces - 2 side pieces and a back piece.  I went for a simpler gathered rectangle using the Emery pattern pieces as a guide to size and length, and positioned the seams at centre front and centre back to allow for the front opening.  I used the same method of finishing the skirt edges as the patterns uses - the top edges under the notches (which I transferred from the vintage pattern pieces) are finished using bias tape and turned under, and then the gap is left open.  I stitched on a couple of hooks and eyes in the hope of holding this closed but as this hasn't been all that successful, I think I will add another couple of buttons on to avoid knicker flashing (and contrast bias tape flashing - this cherry print bias is adorable but I probably would go for matching stuff with hindsight!).


The pattern calls for covered buttons, which I ordered as part of my kit from Minerva.  However I had a total fail with these!  The teeth didn't seem to want to grab the little circle of fabric and when I finally got it all tucked in, the back wouldn't stay on - anyone got any tips on how to use these?  I went with some buttons from the stash instead.  The front of these buttons felt a bit fancy for the style, so I flipped them over and used the other side.

The only other change I made was to move the button placement a bit as it was more flattering to have them starting lower down.

I'm really happy with this dress - it's lovely and cool and easy to wear, and it feels like a vintage dress on.  Perfect for the warm weather we've been having (long may it continue!).  And this is item number 2 for my Vintage Pledge!


Minerva are working on their website currently so rather than one link to my kit, here are the links to the individual components of it if you want to make a similar dress for yourself!


Monday, 9 September 2013

The kite - flying Hawthorn


A new Colette pattern is always a big event - those ladies are so good at marketing! From the sneaky peaks they gave us, the #sewcialists on Twitter suspected a shirt dress and I was thrilled as I've wanted to tackle one for a while. Great Colette instructions and a fab shirt dress pattern is a match made in heaven for a nervous sewist!

When I saw Hawthorn I certainly wasn't disappointed. I love the neckline and collar shape and the full skirt is so pretty. Of course Sarai and the team's lovely styling and gorgeous models always help sell a pattern to me! (Have you voted for Colette in the Martha Stewart awards by the way? Link here).
I nabbed the pattern as soon as Backstitch had it in stock and luckily the perfect fabric fell into my lap on a quick dive into Remnant Kings in Glasgow on my way home from my mum's. I spotted this lovely pale blue cotton with a textured weave and was amazed on checking the price to see that it was £5 a metre! Sold to the crazed sewist who already has far too much stuff to lug on the train back down south!


I then stupidly sat on it for a while and concentrated on other projects, I think for fear it would be too difficult. And then I realised August was marching on and I wasn't likely to have much call to wear a pale blue dress in winter so I'd better get on with it!  But I needn't have worried - Colette held my hand throughout! 


As usual I made a muslin. I cut a size 8 bodice grading to a 10 at the waist and a 10 skirt to fit the waist. I cut the skirt to the longest length.  Based on tissue fit I lengthened by 3". As the pattern said it had quite a loose fit I thought I might get away without an FBA but no such luck. The pattern only has waist darts but I decided to keep the small bust dart created rather than rotate it back and mess with side seam length! I think a broad shoulder adjustment might work well for me on the next version (oh yes, version 2 planned already!)

Spot the small-person-flashing-her-knickers photobomb?
 The only construction issue I found (in common with a few others in the Flickr group is that the collar as drafted didn't reach the circles on the neckline. Apparently if you use 1/4" seams it works fine but I had cut, sewn (with the usual 5/8" seams) and pressed collar by the time I realised! Still looking at the model and a few other finished dresses I don't think it makes much difference.
As usual I was paralysed by button choice - why is this so hard? I think it's the fear of spoiling something you've put so much work into by choosing the wrong ones. I wanted coloured ones as I feel there could be something of a nurse's uniform about the dress, but nothing was speaking to me. I tried to find vintage ones but as I needed 14 (an extra one due to extra bodice length added) I couldn't find any that seemed right. Wooden buttons might have been cute but they tend to be bigger than I would choose for a shirt dress.  I finally chose these clear flower shaped ones which I think work well.
So after the ordeal of 14 buttonholes, 3 broken needles and running out of thread half way down so that the skirt buttonholes are ever so slightly darker than the bodice ones, I read to the end of the instructions and discovered I needed to hand stitch the hem! I used a catch stitch rather than slip stitch as it's so pretty but that is one long hem! I think it took 3 evenings to do. I recently bought some beeswax which I used for the first time to coat the thread and i am sold! Amazing stuff - try it if you often get into a tangle when hand sewing! As a result I think this is some of the neatest catch stitching I have ever done!
Also as you can barely see the collar for my hair, here's a pic of it on Marjorie:
I wore the dress to a kite festival on the August Bank holiday weekend. There wasn't nearly enough wind for the kite displays although we did get a bit of flying done as well as some paddling! I got a few compliments on my Hawthorn from people in the vintage and craft tent (isn't it great to be able to say "thanks I made it"?) And had a great chat with a guy who is launching a vintage clothes range after learning to sew to make costumes for his alter-ego drag act! I love the way sewing gets you involved in such random conversations!

I picked up some fab goodies for a giveaway too which I'll be doing in a couple of weeks to celebrate passing 100 Blog Lovin followers so look out for that!