Showing posts with label jacket. Show all posts
Wednesday, 16 April 2014
Minerva Blogger Network - My Favourite Jacket!
This could be one of my most useful makes ever!
I have been holding out for the release of the Carmine Jacket from Cake Patterns since late last year when it was announced as part of the Red Velvet Collection. It's no secret that I am a total Cake fangirl - I have made 2 Tiras, 2 Pavlova skirts, a long sleeved and short sleeved Pavlova wrap top, 3 Red Velvet dresses, 2 Cabarita tops, 2 Hummingbird skirts and 2 Hummingbird peplum tops. Actually, am I out of fangirl and into stalker territory yet?
It seemed like a really useful little knit jacket (and is it any surprise I am planning another version already?)
The fabric is the Morgan crepe jersey that I have made 2 dresses from already (both Red Velvets which you can see here and here). I really love this fabric and would recommend it for knit beginners - it's got a good amount of stretch but is stable and easy to work with, with no curling edges. The crepe texture is really nice and there's a less textured side too (I always spend ages trying to choose which is the right side!).
The sizing follows Cake's usual method - choosing the bust size using high bust and working out the difference between high and full bust to work out the cup size (there are A-D lines on the pattern, but Steph has included directions for larger cup sizes). It took me a while to get my head around the construction - there is a shrug piece which has underarm gussets, and a circular collar which makes the collar and the lower back of the jacket. You cut the collar based on cup size too.
It went together really easily - I think this could be done (including the basted fitting of the shrug that Steph recommends) in about 2.5 hours.
I tried the stretch tricot stitch on my new machine for the first time. I wasn't sure if this was the ubiquitous lightning bolt stitch that everyone recommends for sewing knits, but it worked really well. Much more secure than my long narrow zig zag i have always used. It's quite slow though - sewing round the outer edge of that huge collar piece took a while! As the jersey was stable, I didn't use my walking foot. And even my overlocker (or overlord as she is now known) played ball! You might want to add a tag at the back neckline - I had a small panic when trying on after I had added the button and buttonhole that I had totally messed with the fit, but then realised I had put it on upside down (doh!).
I added the button on quite low down to pull it in at the waist a bit, as I think this is more flattering on me, which gives a more dramatic collar. Vicki from Minerva (the Buttonmaster General) helped me pick this fab burgundy "selfmade" button for it, but this is a great opportunity to showcase an excellent single button you might have in your button box.
This makes a great cardigan for this time of year, and it'll be a really useful jacket when the weather heats up a bit.
I have shown it here worn with a previous Minerva make - my Kelly skirt, but it goes just as well with jeans and dresses.
If you want to recreate this jacket, you can buy a kit here which includes 3m of the jersey (enough to cut the collar piece twice if you mess it up - ask me how I know!) and a "selfmade" button.
Tuesday, 27 August 2013
The Beach Blazer
I'm totally the last sewist to get on board the By Hand London train, and I have no idea why I waited so long!
I wasn't sure about the Victoria Blazer until I started seeing all the gorgeous versions popping up on my blogroll. Rachel, Roisin, Clare, Lizzy and Rehanon's in particular.
And then Rachel posted a pic of this jacket:
![]() |
| Source: ASOS |
Isn't it gorgeous? And a dead ringer for Victoria.
I dragged the lovely Alison all around Goldhawk Road looking for the perfect nautical print cotton. But it was not to be - none to be found anywhere (and if you've been there, I know it sounds impossible for there to be a type of fabric they don't sell, but it's true!). However, I didn't want to give up completely on my nautical dream, so I nabbed a lovely navy batik cotton with some red cotton for lining.
![]() |
| You can just about see the lining here - the other shot made me look like a flasher! |
It's a great pattern that went together so smoothly and quickly -I think this took about 3 evenings to put together including handstitching the hem. The trickiest bit is probably the famous neck dart but just follow the clear instructions and all will be well! The recent sewalong had more pictures of the process if you are unsure.
I didn't need to make a muslin as i had the benefit of trying on Clare of Sew Dixie Lou's fab version so i knew a straight UK size 12 would fit. I decided to lengthen the sleeves slightly as they hit right on the elbow and so were a bit tight when I bent my arm. I added about 2" and also sewed with a smaller seam allowance for a bit more ease.
I called it the Beach Victoria partly because of the location for the pictures (Lyme Regis on the border of Dorset and Devon if you are imterested), but also because the batik pattern makes me think of shells.
![]() |
| Pop that collar! |
I've worn it loads already and i love how it makes jeans and a tee look smart and a pencil skirt such cooler.
Now I've seen Nicole's amazing tuxedo version I may have to make another (how cool is this woman?)!
And not forgetting a back shot for Nessa:
And finally a moody staring-into-the-middle-distance shot:
And not forgetting a back shot for Nessa:
![]() |
| Please excuse the hair - it was seriously windy! |
And finally a moody staring-into-the-middle-distance shot:
![]() |
| The British seaside with sun? What are the chances? |
Wednesday, 14 November 2012
Finished - Anise Jacket
I actually finished this weeks ago but visiting relatives/ school holidays/ dark evening and rushed mornings have conspired against getting photos of it until now!
It was a lot of work, but totally worth it as I learnt such a lot - bound buttonholes, welt pockets, lining a jacket, loads of handsewing.
I absolutely love the colour - it cheers me up every day! (Not that you'd know it from my face in this pic - WTF is that all about?). As with all Colette patterns, the instructions are really clear and the jacket went together just as instructed. I bought the Anise Companion too, most of which was used in the online details in the sewalong, and it was great to have such clear pictures in front of me to study as I was working on it.
The fit is great - it's really comfortable with no pulling or tightness thanks to the wide shoulder adjustment. The collar is the perfect size and shape and sits really well. I do wish I had underlined the arms though, maybe with a lighter interfacing or calico (now that I have found out this is what Amercians and pattern instructions mean by muslin, rather than the thin open weave stuff we call muslin in the UK!) as I think the fabric is pretty soft and wrinkles a bit too much. But It's a minor niggle. (See, I am totally not mentioning the one wonky buttonhole and the fact that the inside of one of the welt pockets is on backwards). I am really happy witht he buttons as I agonosied over them for ages before picking these silvery ones from John Lewis.
And another pic just for the terrible faces I was pulling this morning. I hate weird face days...
I will leave you with the comment received from my sister-in-law - "it's definitely as good as you would get in Primark" (for the benefit of non-UK readers, Primark is a cheap as chips clothing shop where jackets probably cost a maximum of £40). I think I'll give up now. Funny thing is, I think she meant it as a compliment!
Friday, 19 October 2012
WIP: Anise body finished
Really pleased with how the Anise is coming along.
I have finshed the body and it's starting to look like a jacket! The sides are pinned for now as I've added a bit more to the side seams over the hips to try and get rid of the pooling at the back. Have a feeling I should have done a swayback adjustment, but too late now!
Look at the fraying seams! The inside looks like a plate of spaghetti!
Back view (oops - I think those darts need a bit more pressing!)
I'm really happy with the curved back seams - I basted with silk thread as instructed and it's given a great finish, so I think I'll be doing more hand basting in future. I used to find it slow and frustrating but I've really seen on this project why it is necessary.
It has 8 bound buttonholes (one is slightly wonky and of course is not one of the mock ones that will be partly covered by a button).
I'm really pleased with the welt pockets! One may actually be on backwards but you can only tell on the inside!
I have finshed the body and it's starting to look like a jacket! The sides are pinned for now as I've added a bit more to the side seams over the hips to try and get rid of the pooling at the back. Have a feeling I should have done a swayback adjustment, but too late now!
Look at the fraying seams! The inside looks like a plate of spaghetti!
Back view (oops - I think those darts need a bit more pressing!)
I'm really happy with the curved back seams - I basted with silk thread as instructed and it's given a great finish, so I think I'll be doing more hand basting in future. I used to find it slow and frustrating but I've really seen on this project why it is necessary.
It has 8 bound buttonholes (one is slightly wonky and of course is not one of the mock ones that will be partly covered by a button).
I'm really pleased with the welt pockets! One may actually be on backwards but you can only tell on the inside!
Thursday, 18 October 2012
WIP: Anise fabric and buttonholes
I'm making progress!
I realised in my last post that I hadn't posted about the fabric choices for this.
I'm using a suiting (I think it's a poly but i didn't want a thick wool jacket as I still have last year's coat). It is a mess of fraying though - just as well the seams will be covered by a lining as I don't know what seam finish would cover up the fraying! Still a good learning for the future.
It's in my colour of the season, which is teal. You'll be seeing a lot of sewing in this colour over the next few months as it's a definite favourite!
The lining is a grey satin. I wish i had gone for my original choice of fuschia pink, but i was talked out of it by hubby! Still, the grey will look good.
Buttons are heavy silvery ones with a sort of worn finish.
Rather than lining with muslin as per the pattern, I am using sew-in interfacing. The muslin I could get was very lightweight and floppy and I didn't think it would give enough structure to the suiting.
I also made some practice bound buttonholes - this is the first step in the pattern (rather than machine buttonholes which are done at the end). For a first try, they don't look too bad!
I realised in my last post that I hadn't posted about the fabric choices for this.
I'm using a suiting (I think it's a poly but i didn't want a thick wool jacket as I still have last year's coat). It is a mess of fraying though - just as well the seams will be covered by a lining as I don't know what seam finish would cover up the fraying! Still a good learning for the future.
It's in my colour of the season, which is teal. You'll be seeing a lot of sewing in this colour over the next few months as it's a definite favourite!
The lining is a grey satin. I wish i had gone for my original choice of fuschia pink, but i was talked out of it by hubby! Still, the grey will look good.
Buttons are heavy silvery ones with a sort of worn finish.
Rather than lining with muslin as per the pattern, I am using sew-in interfacing. The muslin I could get was very lightweight and floppy and I didn't think it would give enough structure to the suiting.
I also made some practice bound buttonholes - this is the first step in the pattern (rather than machine buttonholes which are done at the end). For a first try, they don't look too bad!
Friday, 12 October 2012
WIP: Anise Jacket muslin fitting
The current project I am working on is Colette's Anise jacket. I really love this pattern - it's so Emma Pilsbury (or that could just be the model they used!). I have a much loved and worn but now looking a bit the worse for wear 1960s style swing jacket and thought this could be a great replacement.
I'm doing the sewalong on the Colette website and also have the Anise Companion instruction book, which is a godsend! As I would expect from Sarai, the instructions are so clear with loads of great pictures.
Like a good sewist, I started with a muslin. In actual muslin for once, which proved to be a nightmare! All that I could get was very fine stuff and I kept losing my notches in the fraying edges. I traced a size 8 (my usual Colette size) and added 2" in length based on tissue fitting the pattern. I think you can see from the pics below that it's quite a long way from right!
Sleeves too short and tight...
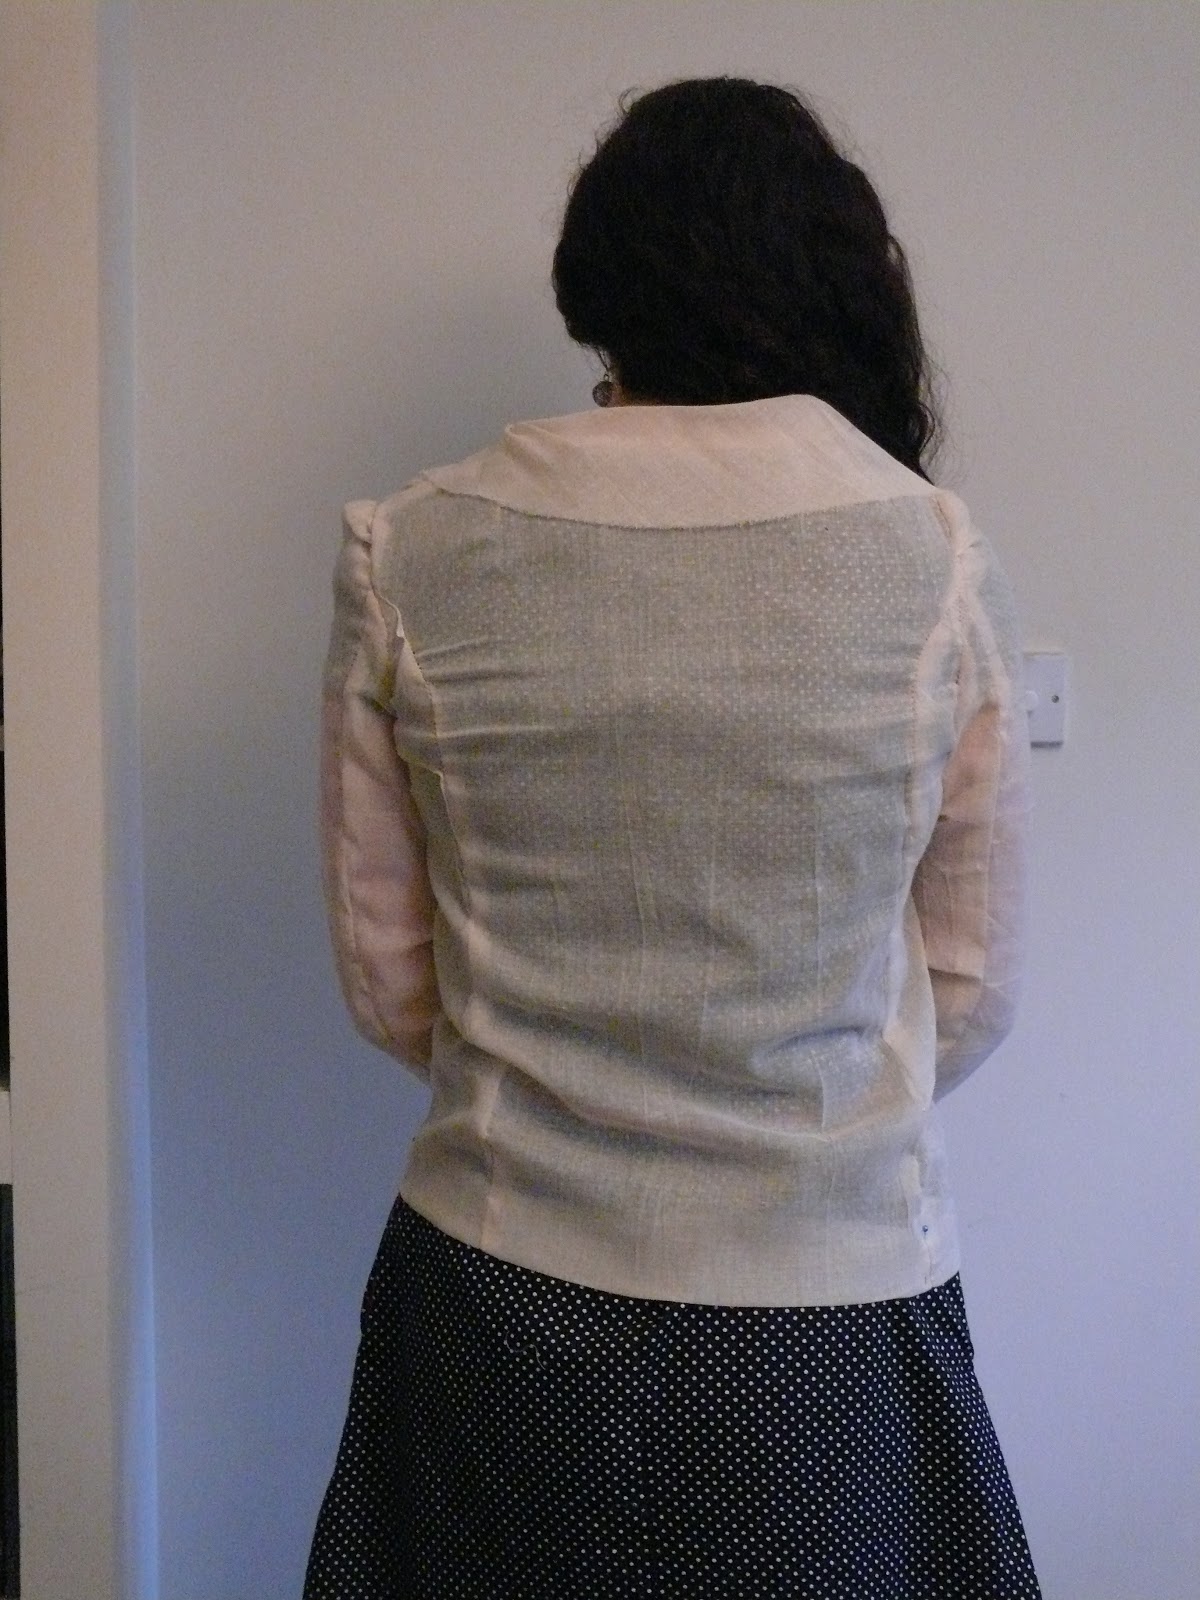
Too tight across the back and either needing a swayback or large bottom adjustment. It's also a bit short still.
Pattern changes made:
extra 1" in length of bodice (is it still called a bodice on a jacket? The body part anyway!)
wide shoulder adjustment - I guessed at adding about 3/4" to each side
Widened the upper sleeve (according to Fit for Real People you shouldn't alter the lower sleeve!)
extra 2.5" length to the sleeve
I was debating scrapping the 8 and cutting out a 10 as I was worried that it was just too small, but thought for the effort of retracing the new size, I would have another go at the 8!
I think this was the right choice as it looks much better now.
Shoulders in the right place and less stretched across the bust...
'Scuse the weird face - sleeves more comfortable
Back less pulled - that looks like a wrinkle but it's not there all the time, just in this pic! I didn't do a swayback adjustment, but i have added an extra 1/4" to the side seams so I will pinfit the side seams and see if a bit more room in the hip area will fix it.
Due to the length adjustments, I have also repositioned the buttons and welt pocket by putting the top ones according to the pattern, and the bottom ones where they should have been in relation to the hem, and then spacing the other 2 out.
It's definitely the hardest project I have worked on (by a long way!) but I am learning loads of new things (including bound buttonholes - eek!). I think the wide shoulder adjustment might become a regular one for me as I can see my Peony wearable muslin could benefit from it too.
Subscribe to:
Posts (Atom)