I've just started work on my Peony which is the next garment in the Sew Colette 2.0 sewalong. I've had the pattern a while and I really love the simple shape and the boat neckline, which I tried to incorporate into the Disaster Dress (probably enough said about that!).
I bought a navy spot cotton a while back to make it, and am planning contrast red piping at the waist. After recent zip/ piping difficulties, I am going to use a normal zip!
As this was meant to be a summer project I was planning the short sleeved version - i'm still going to make this and make it a wearable muslin for the longer sleeved winter version I'm got in my head.
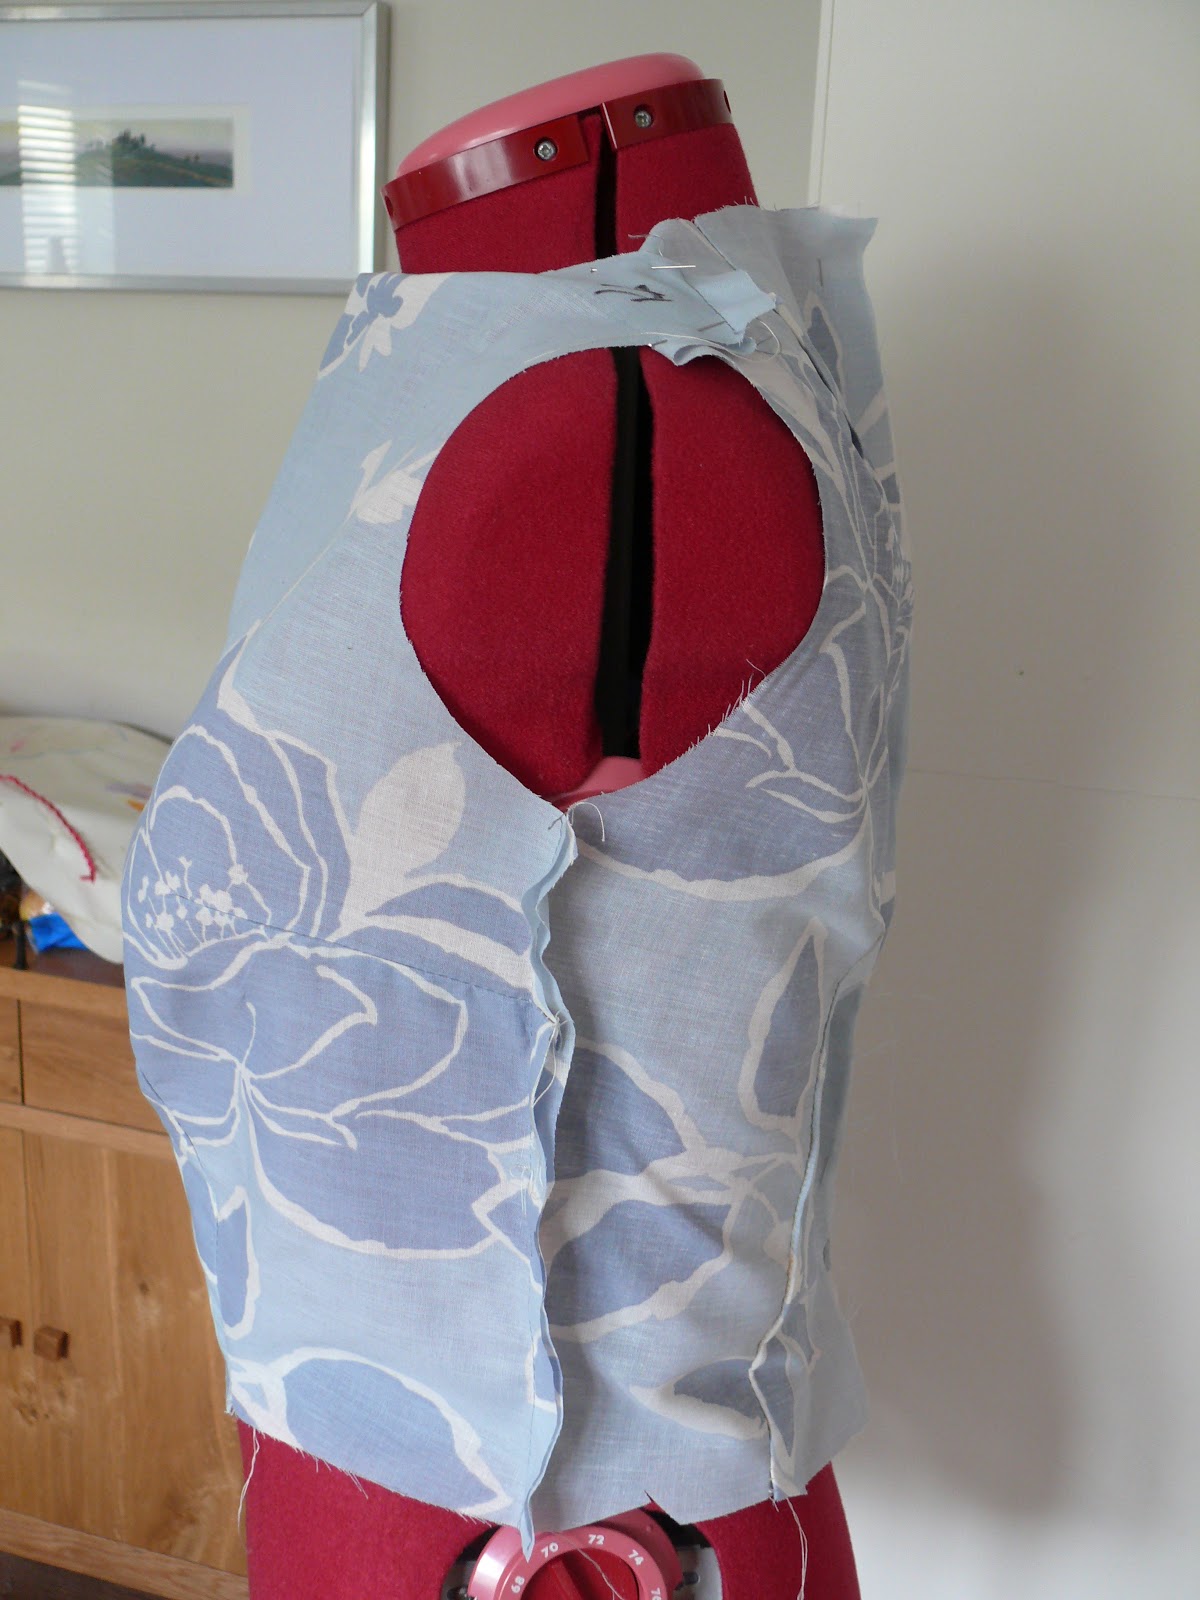
First step - bodice muslin! I made a lot of changes to the basic pattern before I started - i lengthened the bodice by 3", lowered the bust darts by 1", and because the lengthening seemed to make the waist darts too long, I shortened them by 2".
I've pinned up the shoulders as Marjorie isn't as long in that area as me! It needs a bit more ease in the waist so I have added 1/2" to either side of the centre back. It's very poofy under the bust (although more so on Marjorie then me!) so I have increased the length of the waist darts by 1" again and hopefully that will fix the problem. I've also done a square shoulder adjustment of about 1/4" to eliminate drag lines above the bust. Skirt will be lengthened by 2" to hit just above the knee.
So I'm ready to cut the fashion fabric and will pin fit these adjustments before I start sewing.
Showing posts with label piping. Show all posts
Thursday, 20 September 2012
Tuesday, 11 September 2012
Finshed Macaron!
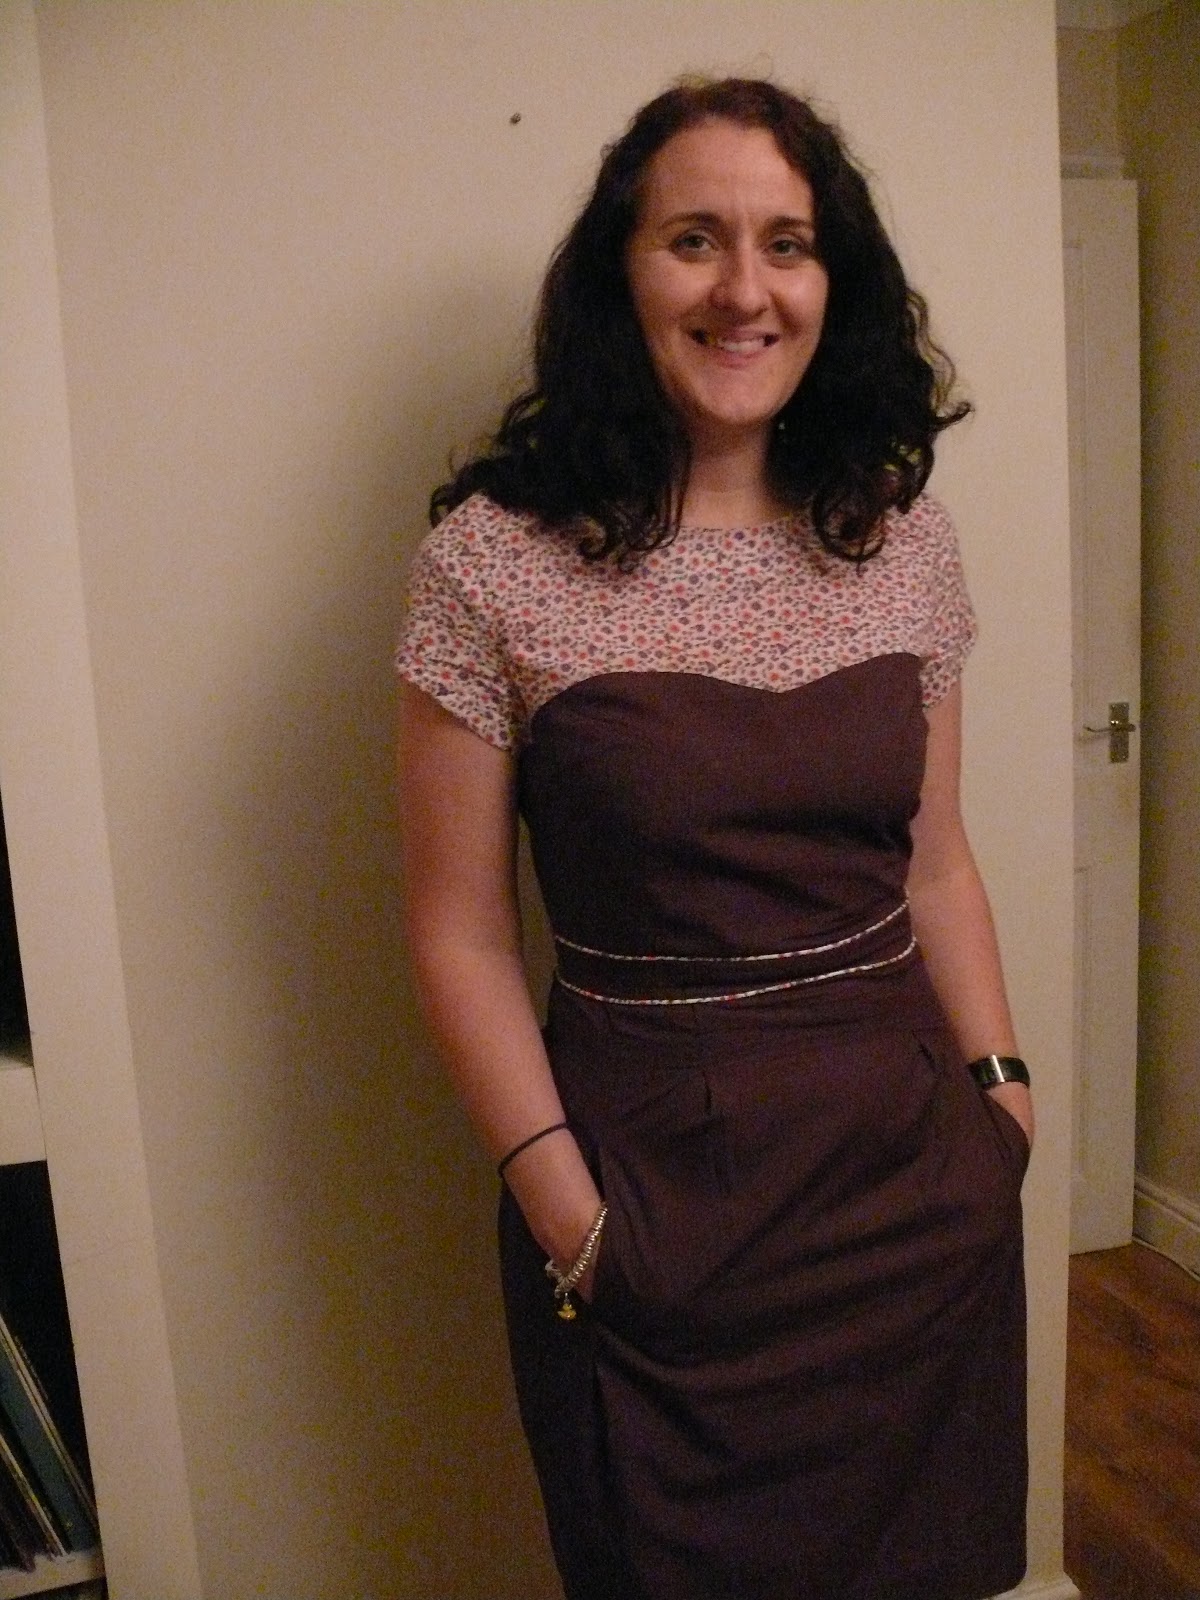
Woohoo! It's done. My first sewalong, and although I finished last week, I haven't managed to get pics so I think I may be too late and missed the cut off. But never mind - I do love it!
She had her first outing on Friday for a client meeting at work and the V&A with Karen and other sewing types and was I think well received (2 colleagues and some of the lovely sewists gave me some great comments!).
As previously blogged, I used a soft floral fabric (perhaps a voile? I so need to improve my fabric knowledge!) for the yoke and a purple poplin for the shell, both in the sale at John Lewis.
I cut a size 8 which fitted relatively well out of the packet, aside from my usual length adjustments. I find Colette Patterns fairly short in the body so after tissue fitting I added 2" to the bodice length below the bust and 1" to the yoke. The yoke adjustment meant adjusting the sleeve piece, which was surprisingly easy! I spent hours trying to work out how to get the length I needed without adjusting the yoke as I was really scared of messing with the sleeve, but it was no problem. I also on Rhinestones and Telephones' advice moved the bust dart down by about 1" as it was coming right at the top of the solid pattern piece and didn't look right. I also lengthened the skirt by about 3".
The patterns calls for the midriff piece to be in the yoke fabric, but I thought mine was perhaps a bit too soft and drapey (maybe I am learning about fabric after all!). I wanted something to break it up in the middle so decided on piping made from the floral fabric on either side of the midriff pieces. This was something I had been thinking about for ages but never tried before and I was surprised at how easy it was. I love the final look. To insert it in one continuous piece, I changed the construction order slightly - I sewed the bodice front and back together at the side seam before adding the midriff piece and then added the piping, then the sewn together midriff pieces, then the rest of the piping.
The bodice looked like the hardest part but I actually found the skirt to be more trouble! The waist seemed very small (I have read in a few places since, notably the comments on Paunnet's blog that she and a few people had this problem) so I decreased the size of the pleats slightly. I wish I had made a toile of the whole dress rather than just the bodice, but isn't hindsight great?
My invisible zip issues have been well documented previously, but in future I won't be using invisible zips wth piping at the waist. Clearly not a good combination! After failing with the invisible zip, I started again with a normal zip and got that in fine. It does look a bit messy but I think I can live with it. As suggested by the lovely Tania at the V&A trip, I could take it out and bind the edges to make it less messy, which I may well do. The equally lovely and scarily knowledgable Elaine also suggested some fusible interfacing on the edges works really well in that situation.
I also did lots of seam finishing on this make as I really wanted to make it as good as possible!
Clean finished seams:
I bound the waist seam with bias binding made from the floral fabric:
Catchstitched hem:
All in all I am really happy with the final dress. Looking at all of the above, I learnt loads on this make including lots of fitting and finishing as well as a first attempt at piping (but I will be making a toile of the whole dress in future!). I am getting better at my usual tall length adjustments and tissue fitting really helps to get these done before making a first toile which would never fit.
But why oh why did i persist in pointing out the zip problem to anyone who complimented me on the dress? Grrr to me! I need to learn just to say thank you!
She had her first outing on Friday for a client meeting at work and the V&A with Karen and other sewing types and was I think well received (2 colleagues and some of the lovely sewists gave me some great comments!).
As previously blogged, I used a soft floral fabric (perhaps a voile? I so need to improve my fabric knowledge!) for the yoke and a purple poplin for the shell, both in the sale at John Lewis.
I cut a size 8 which fitted relatively well out of the packet, aside from my usual length adjustments. I find Colette Patterns fairly short in the body so after tissue fitting I added 2" to the bodice length below the bust and 1" to the yoke. The yoke adjustment meant adjusting the sleeve piece, which was surprisingly easy! I spent hours trying to work out how to get the length I needed without adjusting the yoke as I was really scared of messing with the sleeve, but it was no problem. I also on Rhinestones and Telephones' advice moved the bust dart down by about 1" as it was coming right at the top of the solid pattern piece and didn't look right. I also lengthened the skirt by about 3".
The patterns calls for the midriff piece to be in the yoke fabric, but I thought mine was perhaps a bit too soft and drapey (maybe I am learning about fabric after all!). I wanted something to break it up in the middle so decided on piping made from the floral fabric on either side of the midriff pieces. This was something I had been thinking about for ages but never tried before and I was surprised at how easy it was. I love the final look. To insert it in one continuous piece, I changed the construction order slightly - I sewed the bodice front and back together at the side seam before adding the midriff piece and then added the piping, then the sewn together midriff pieces, then the rest of the piping.
The bodice looked like the hardest part but I actually found the skirt to be more trouble! The waist seemed very small (I have read in a few places since, notably the comments on Paunnet's blog that she and a few people had this problem) so I decreased the size of the pleats slightly. I wish I had made a toile of the whole dress rather than just the bodice, but isn't hindsight great?
My invisible zip issues have been well documented previously, but in future I won't be using invisible zips wth piping at the waist. Clearly not a good combination! After failing with the invisible zip, I started again with a normal zip and got that in fine. It does look a bit messy but I think I can live with it. As suggested by the lovely Tania at the V&A trip, I could take it out and bind the edges to make it less messy, which I may well do. The equally lovely and scarily knowledgable Elaine also suggested some fusible interfacing on the edges works really well in that situation.
I also did lots of seam finishing on this make as I really wanted to make it as good as possible!
Clean finished seams:
I bound the waist seam with bias binding made from the floral fabric:
Catchstitched hem:
All in all I am really happy with the final dress. Looking at all of the above, I learnt loads on this make including lots of fitting and finishing as well as a first attempt at piping (but I will be making a toile of the whole dress in future!). I am getting better at my usual tall length adjustments and tissue fitting really helps to get these done before making a first toile which would never fit.
But why oh why did i persist in pointing out the zip problem to anyone who complimented me on the dress? Grrr to me! I need to learn just to say thank you!
Subscribe to:
Posts (Atom)