Showing posts with label work in progress. Show all posts

Tuesday, 30 December 2014

Operation winter coat - the reveal!


So here is my final coat!

I am so happy with it and it's an absolute pleasure to put it on every day. Of course the cost/effort per wear on a coat comes out pretty well which is satisfying! 
In this post, I'm showing off the final pics and will talk about fitting adjustments I made, and I'll show you details in another post. 


On comparing my actual measurements to my pattern measurements, I found I needed an FBA (no surprise), a little extra room at the hips/ bum level (another non - surprise) and more ease in the arms (I appear to have weirdly big elbows!). I also added 1/2" shoulder width and did a small square shoulder adjustment.

The front pattern piece was tough to adjust as it looked like this:


On the advice of lovely Brooke from Custom Style I had planned to cut it apart at the waist, but as I needed extra room at the hips too I was able to slash the pattern piece all the way down and add in some extra in the right places.

Should have taken my hands out of my pockets to photograph the back - that pulling isn't there without them!


The weirdest thing is that I did no length adjustments in the body at all! The waist was in the right place and the hem length was perfect.  In hindsight, the pockets could stand to be perhaps 1.5" lower  as it feels like I pull on them slightly when I put my hands in. But they are totally functional.  I also lengthened the sleeves to full length from bracelet length and as a result had to taper them slightly.


I muslined one sleeve and also the collar piece as I was concerned it looked a bit small in the picture (it's fine). However I decided to add darts to the back to take out some excess fabric at back waist. This was done by pinching out the right amount of fabric at waist level, splitting that between 2 darts and measuring where I wanted them to end top and bottom. I had a bit of trial and error in the dart positioning at first as I placed them too close to the side seams so I was glad I had just pinned them to begin with. Me and the seam ripper are too friendly as it is!  

In the final fabric I ended up taking in the side seams more to narrow the bodice to the waist as the shape as drafted  just wasn't working for me. Unfortunately I feel like I took a lot of the vintage flavour out of the coat, but it definitely works better for me this way. 

Details of the construction to follow! 

One last pic as it's a nice background!


Wednesday, 1 October 2014

Operation winter coat is go!

I may not have been blogging too much due to work and general life busy-ness, but I have been sewing and planning quite a bit!

The big project I am working on is a winter coat.

I was looking for a fairly simple shape with a collar and some waist shaping and I picked up this great 1960s pattern on Etsy:


It has lovely princess seams running to the waist with welt pockets at the bottom, bound buttonholes and is fully lined.

I knew I was going to have to buy fabric online for it as my local fabric shop just doesn't stock great quality coating. The fabric I used for my Anise really hasn't held up well which is frustrating when you think of all the work that goes into a coat (especially one with welt pockets and bound buttonholes!). After much perusing of online fabric shops (it's a dirty job...) I ordered a stack of swatches from Stone Fabrics. They have a great selection of coatings and I have read good things about their quality. You have to call up and order but they were very helpful and got my order out really quickly - they're not paying me to recommend them BTW, I just like to give praise where it's due!

I ordered this wool mix coating (90% wool but not scratchy - 100% wool rarely works on my skin). A good tip I found was to keep rubbing the swatches together over a few days to see how they might hold up to wear. I actually rejected my original choice after it went a bit fluffy when I did this so hopefully I have chosen one that will wear well!


The lining is also from Stone Fabrics and it's viscose acetate in a beautiful peacock blue - the picture really does not do the colour justice.

As ever, I asked for advice on twitter for interfacing and the ever helpful Anne from Mercury Handmade recommended Speed Tailoring from Gill Arnold as she uses it in all her coats. This stuff is ideal for stabilising an open weave and is beautifully soft.

For buttons, I bought huge 1960s style ones from John  Lewis. I hope they don't look stupidly big on as I'll have to do the bound buttonholes first!

I think you'll be getting quite a lot of in progress posts on this as coats take such a long time. Wish me luck!


Friday, 19 October 2012

WIP: Anise body finished

Really pleased with how the Anise is coming along.

I have finshed the body and it's starting to look like a jacket!  The sides are pinned for now as I've added a bit more to the side seams over the hips to try and get rid of the pooling at the back.  Have a feeling I should have done a swayback adjustment, but too late now!

Look at the fraying seams!  The inside looks like a plate of spaghetti!

Back view (oops - I think those darts need a bit more pressing!)


I'm really happy with the curved back seams - I basted with silk thread as instructed and it's given a great finish, so I think I'll be doing more hand basting in future.  I used to find it slow and frustrating but I've really seen on this project why it is necessary.


It has 8 bound buttonholes (one is slightly wonky and of course is not one of the mock ones that will be partly covered by a button).

I'm really pleased with the welt pockets!  One may actually be on backwards but you can only tell on the inside!

Thursday, 18 October 2012

WIP: Anise fabric and buttonholes

I'm making progress!

I realised in my last post that I hadn't posted about the fabric choices for this.

I'm using a suiting (I think it's a poly but i didn't want a thick wool jacket as I still have last year's coat).  It is a mess of fraying though - just as well the seams will be covered by a lining as I don't know what seam finish would cover up the fraying!  Still a good learning for the future.

It's in my colour of the season, which is teal.  You'll be seeing a lot of sewing in this colour over the next few months as it's a definite favourite!


The lining is a grey satin.  I wish i had gone for my original choice of fuschia pink,  but i was talked out of it by hubby!  Still, the grey will look good.

Buttons are heavy silvery ones with a sort of worn finish.

Rather than lining with muslin as per the pattern, I am using sew-in interfacing.  The muslin I could get was very lightweight and floppy and I didn't think it would give enough structure to the suiting.

I also made some practice bound buttonholes - this is the first step in the pattern (rather than machine buttonholes which are done at the end).  For a first try, they don't look too bad!

Friday, 12 October 2012

WIP: Anise Jacket muslin fitting

The current project I am working on is Colette's Anise jacket.  I really love this pattern - it's so Emma Pilsbury (or that could just be the model they used!).  I have a much loved and worn but now looking a bit the worse for wear 1960s style swing jacket and thought this could be a great replacement.

I'm doing the sewalong on the Colette website and also have the Anise Companion instruction book, which is a godsend!  As I would expect from Sarai, the instructions are so clear with loads of great pictures.

Like a good sewist, I started with a muslin.  In actual muslin for once, which proved to be a nightmare!  All that I could get was very fine stuff and I kept losing my notches in the fraying edges.  I traced a size 8 (my usual Colette size) and added 2" in length based on tissue fitting the pattern.  I think you can see from the pics below that it's quite a long way from right!


Pulling under the arms...


Sleeves too short and tight...


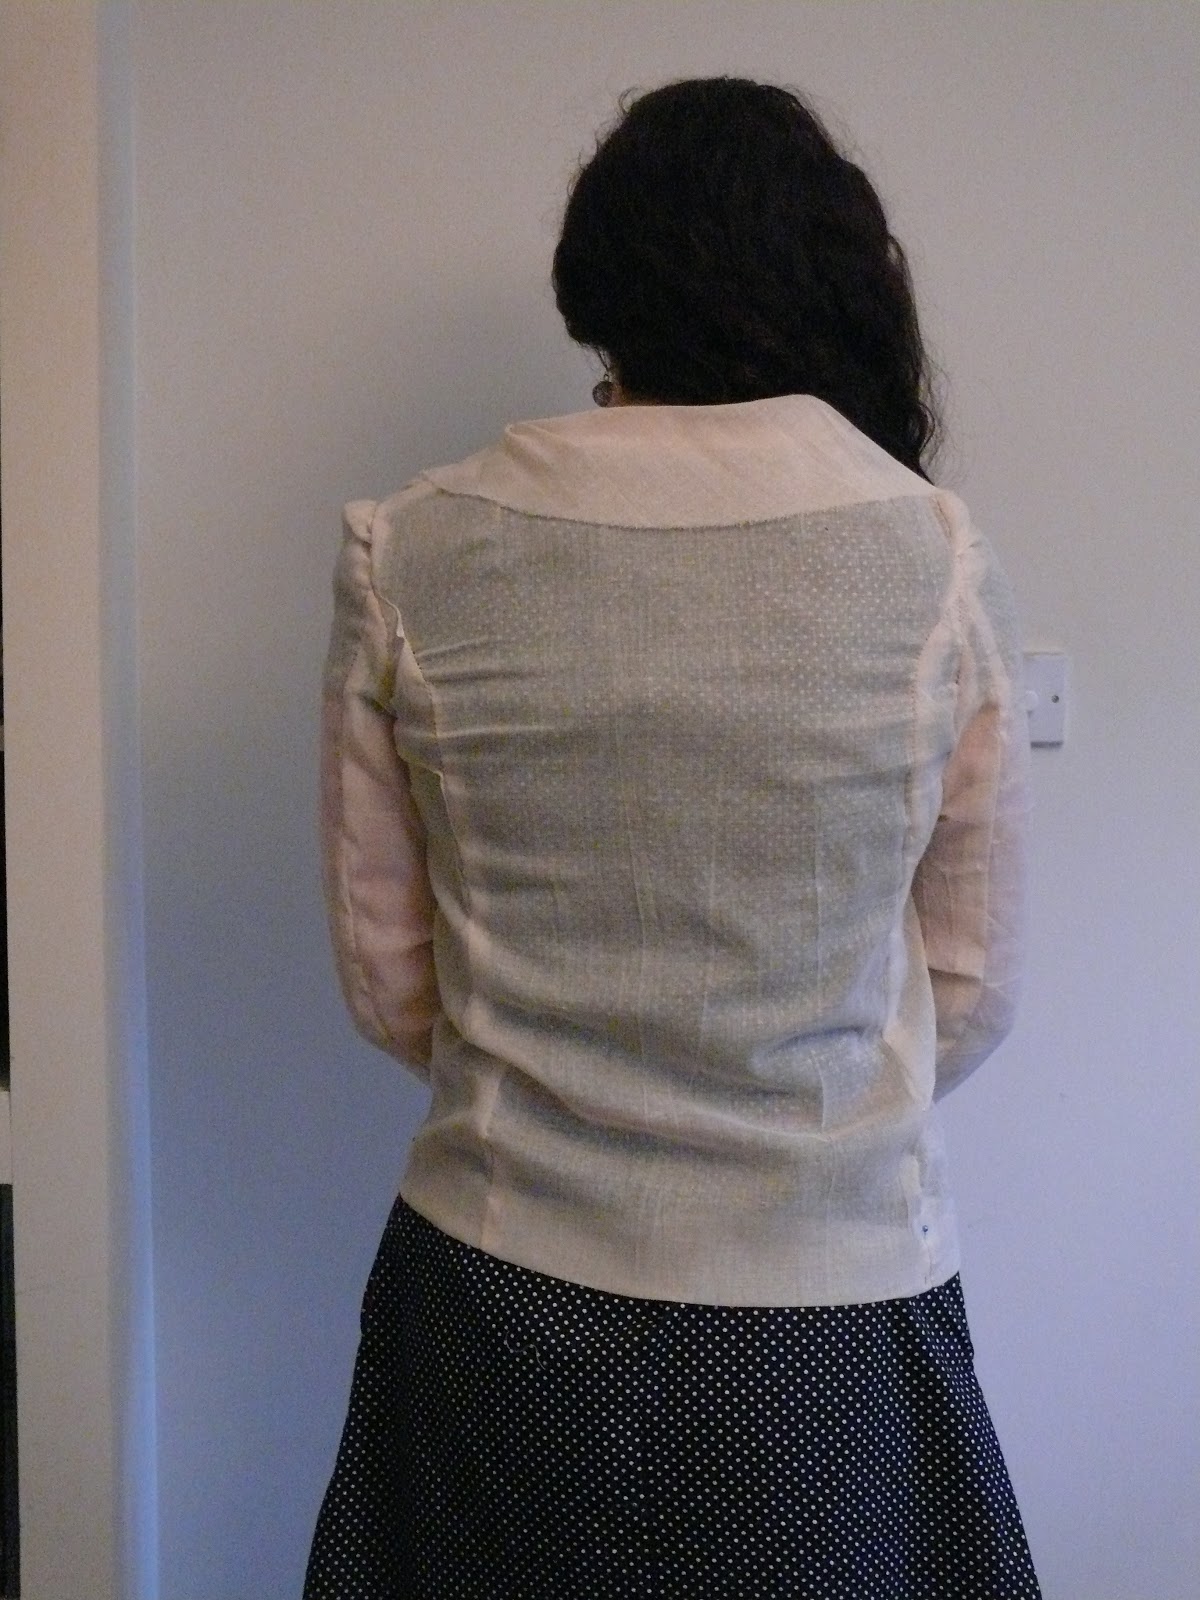
Too tight across the back and either needing a swayback or large bottom adjustment.  It's also a bit short still.

Pattern changes made:
extra 1" in length of bodice (is it still called a bodice on a jacket?  The body part anyway!)
wide shoulder adjustment - I guessed at adding about 3/4" to each side
Widened the upper sleeve (according to Fit for Real People you shouldn't alter the lower sleeve!)
extra 2.5" length to the sleeve

I was debating scrapping the 8 and cutting out a 10 as I was worried that it was just too small, but thought for the effort of retracing the new size, I would have another go at the 8!

I think this was the right choice as it looks much better now.
Shoulders in the right place and less stretched across the bust...
'Scuse the weird face - sleeves more comfortable
Back less pulled - that looks like a wrinkle but it's not there all the time, just in this pic!  I didn't do a swayback adjustment, but i have added an extra 1/4" to the side seams so I will pinfit the side seams and see if a bit more room in the hip area will fix it.

Due to the length adjustments, I have also repositioned the buttons and welt pocket by putting the top ones according to the pattern, and the bottom ones where they should have been in relation to the hem, and then spacing the other 2 out.

It's definitely the hardest project I have worked on (by a long way!) but I am learning loads of new things (including bound buttonholes - eek!).  I think the wide shoulder adjustment might become a regular one for me as I can see my Peony wearable muslin could benefit from it too.

Thursday, 20 September 2012

WIP: Peony Toile

I've just started work on my Peony which is the next garment in the Sew Colette 2.0 sewalong.  I've had the pattern a while and I really love the simple shape and the boat neckline, which I tried to incorporate into the Disaster Dress (probably enough said about that!).

I bought a navy spot cotton a while back to make it, and am planning contrast red piping at the waist.  After recent zip/ piping difficulties, I am going to use a normal zip!


As this was meant to be a summer project I was planning the short sleeved version - i'm still going to make this and make it a wearable muslin for the longer sleeved winter version I'm got in my head.

First step - bodice muslin!  I made a lot of changes to the basic pattern before I started - i lengthened the bodice by 3", lowered the bust darts by 1", and because the lengthening seemed to make the waist darts too long, I shortened them by 2".


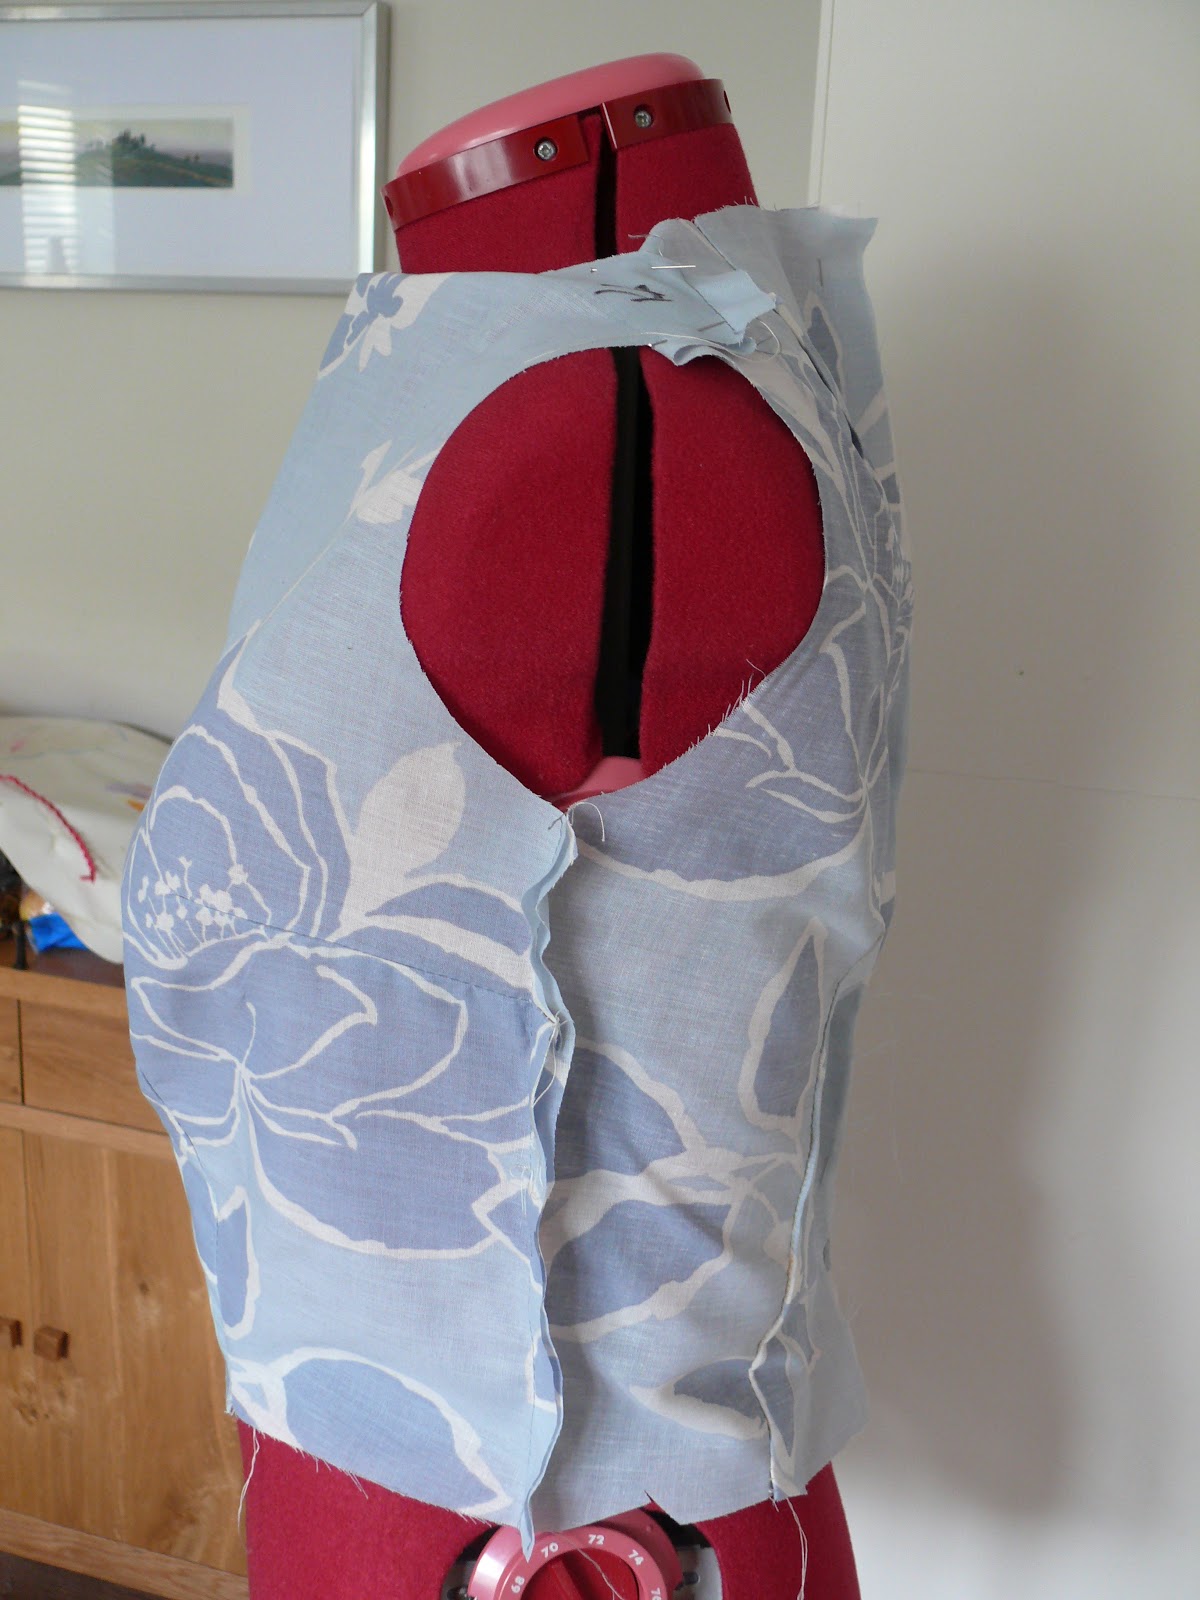
I've pinned up the shoulders as Marjorie isn't as long in that area as me!  It needs a bit more ease in the waist so I have added 1/2" to either side of the centre back.  It's very poofy under the bust (although more so on Marjorie then me!) so I have increased the length of the waist darts by 1" again and hopefully that will fix the problem.  I've also done a square shoulder adjustment of about 1/4" to eliminate drag lines above the bust.  Skirt will be lengthened by 2" to hit just above the knee.

So I'm ready to cut the fashion fabric and will pin fit these adjustments before I start sewing.

Thursday, 23 August 2012

Macaron Work in Progress

At the last minute I decided to throw my hat into the ring with the Sew Colette 2.0 Sewalong for the Macaron, hosted by Lucky Lucille, Miss Crayola Creepy and Rhinestones and Telephones.  It's one of the first patterns I really wanted to make but I was struggling to decide on fabric.  I wanted to do a winter version and had navy needlecord in mind with an orange contrast, but I couldn't find the right fabric to fit what I had in mind.  I thought I would have to give it a miss until a trip to John Lewis turned up some cute fabrics in the sale (so of course they had to be bought!
 
Although the colour isn't that clear in the photo, it's a dusty purple poplin for the shell and a lightweight cotton floral for the top part.  I love the way they look together and hopefully the dark colour will mean I can wear for winter with a cardigan.


Having decided on this at the last minute, I am a bit behind but have my bodice toile done.  After tissue fitting (as my main adjustment is for length, making a toile before doing this adjustment would be a waste of time) and adding 2" to the bodice length and 1" to the yoke, it looks OK.  I need to shorten the waist darts by about 2" as marked on the toile (I guess I should have left them the original length when I lengthened!), and I think the bust darts will need to be moved down as they definitely fall above the apex even with the extra 1" above - I think I'll have a look at some of the other versions online and see where they fall on other people as they definitely are right at the top of that pattern piece.


In the back view, you can see I have pinned the shoulders - Marjorie has a higher bust point than me - I can lengthen her waist but not above the bust!  It looks kind of baggy at the back but actually fits better on me.  I think I can adjust it fairly easily at the side seams to sort this out.  (And what is going on with my basting?  It went all weird and gathery - not sure if i need to adjust the tension so I'll definitely test of a scrap before starting on the fashion fabric!)

I'm off to work on the sleeves as I need to see the effect of adding that extra inch to the yoke.  I guess I will need to lengthen the sleeve cap.  Back to Fit for Real People!