Showing posts with label knits. Show all posts

Monday, 22 September 2014

The long awaited Moneta


I sewed this forever ago, but as you have probably noticed, finding time to blog things recently has been difficult!

I made this Moneta from Colette Patterns for our holiday to Sicily back in August, and it's great to look back on the beautiful scenery and lovely weather!  The pictures are on the island of Stromboli (an active volcano) where we went on a boat trip.

There seemed to be a lot of relatively similar knit dress patterns released by the indies this summer, and although I probably could have hacked this myself, I decided to go the convenience route.  I also love this neckline - it's perfect for me, and the downloadable collar options sealed the deal!  Annoyingly I don't have a pic of the cute crossover collar at the back so you'll need to imagine.


It's a simple knit bodice with no darts and a gathered skirt.  I lengthened both the bodice and skirt by 2" based on measuring the pattern pieces - this is a standard adjustment for me,  The only fitting issue I had was some gaping under the arms.  To get rid of it, I pinched it out at the side seam - it's not perfect but it worked OK.

I'm not sure about the gathering method used on the skirt - it calls for clear elastic to be stretched and sewn to the skirt which gathered it up when the stretch is released.  It really wasn't that easy to do.  I'll probably give it another go on another version I have planned, but I suspect that other gathering methods may be just as easy.

This pattern is a total fabric hog for such a simple knit dress!  I had bought 2.5 metres of this cotton jersey from Goldhawk Road without checking the fabric requirements, but as it's a self lined bodice, the pattern calls for close to 3 yards.  With my length adjustments, I wouldn't have had enough to line, so I overlocked the armhole edges and turned inside.  I finished with a double needle.


An arty shot from my husband - he loved that the writing on the wall matched the dress!
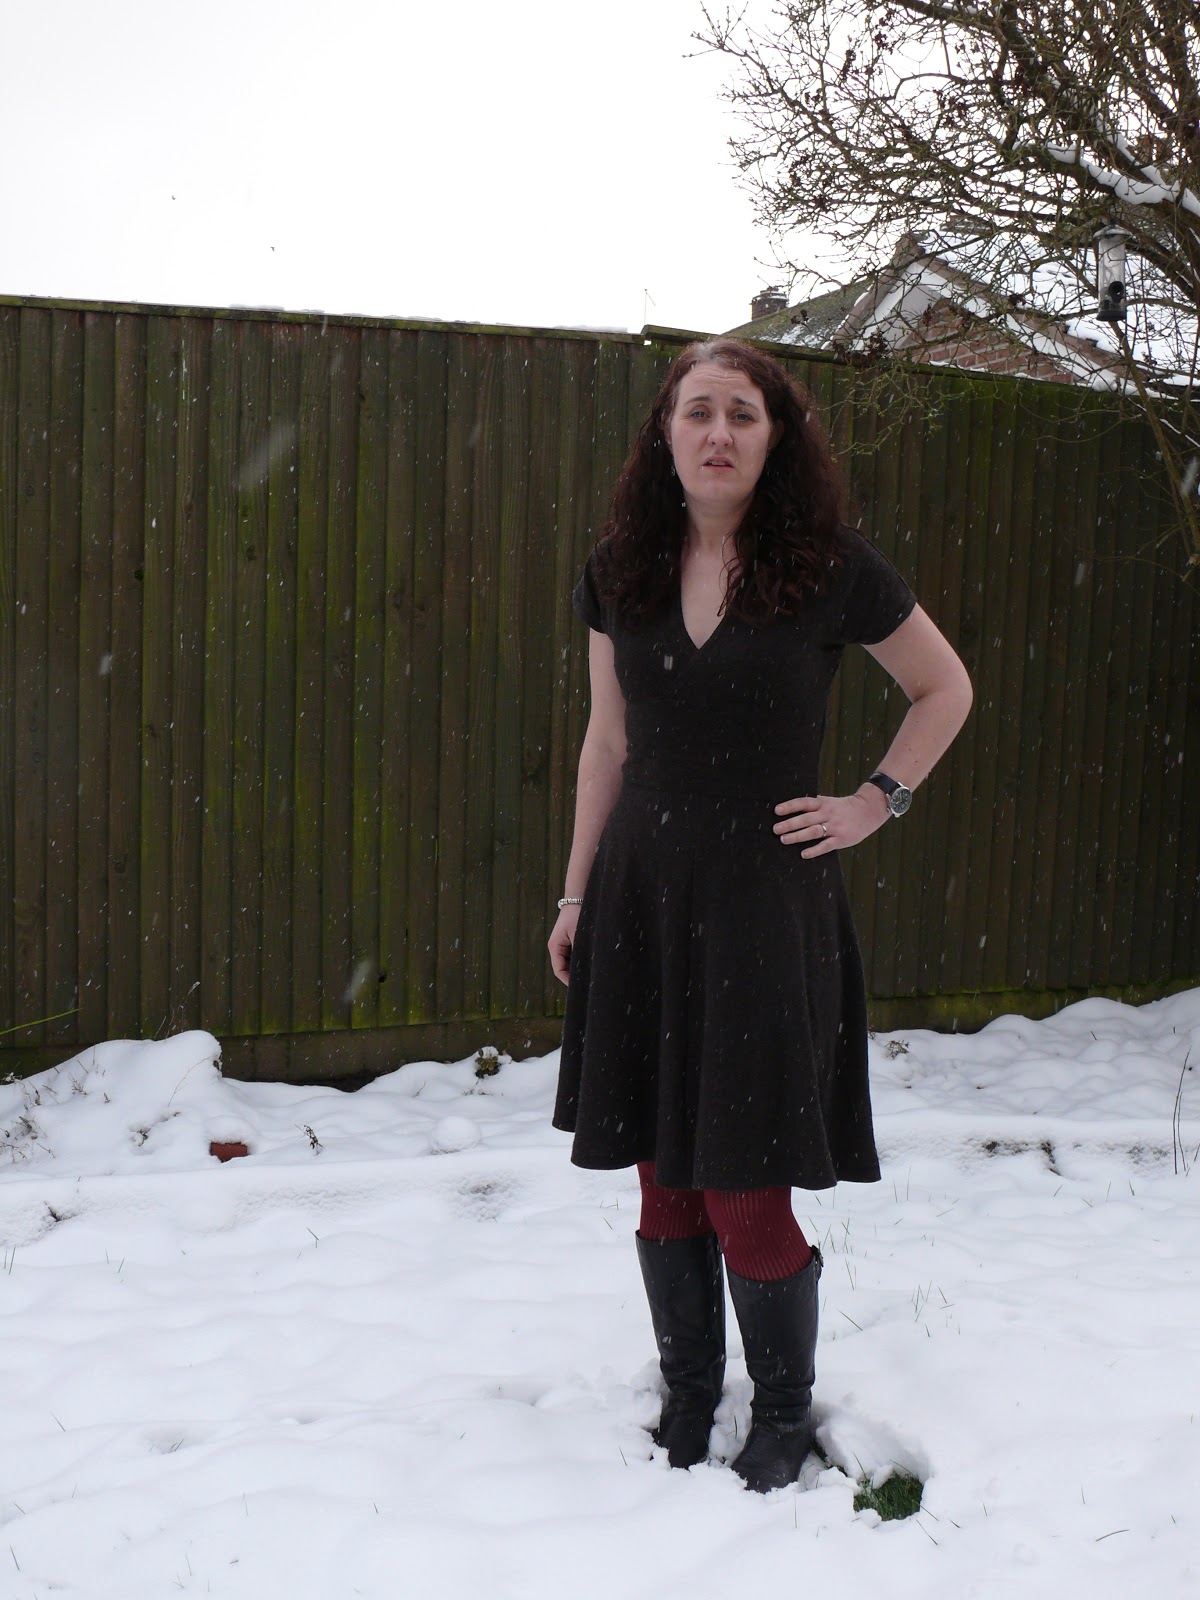
I love this dress - the fabric is quite weighty and the skirt swishes really nicely,.  It's quick and easy to make, and I have a winter version in the works now that the weather is getting colder.  I had plans for a striped version too but didn't manage to find the right fabric.  Maybe for next summer!


Wednesday, 16 April 2014

Minerva Blogger Network - My Favourite Jacket!


This could be one of my most useful makes ever!

I have been holding out for the release of the Carmine Jacket from Cake Patterns since late last year when it was announced as part of the Red Velvet Collection.  It's no secret that I am a total Cake fangirl - I have made 2 Tiras, 2 Pavlova skirts, a long sleeved and short sleeved Pavlova wrap top, 3 Red Velvet dresses, 2 Cabarita tops, 2 Hummingbird skirts and 2 Hummingbird peplum tops.  Actually, am I out of fangirl and into stalker territory yet?

It seemed like a really useful little knit jacket (and is it any surprise I am planning another version already?)

The fabric is the Morgan crepe jersey that I have made 2 dresses from already (both Red Velvets which you can see here and here).  I really love this fabric and would recommend it for knit beginners - it's got a good amount of stretch but is stable and easy to work with, with no curling edges.  The crepe texture is really nice and there's a less textured side too (I always spend ages trying to choose which is the right side!).

The sizing follows Cake's usual method - choosing the bust size using high bust and working out the difference between high and full bust to work out the cup size (there are A-D lines on the pattern, but Steph has included directions for larger cup sizes).  It took me a while to get my head around the construction - there is a shrug piece which has underarm gussets, and a circular collar which makes the collar and the lower back of the jacket.  You cut the collar based on cup size too.


It went together really easily - I think this could be done (including the basted fitting of the shrug that Steph recommends) in about 2.5 hours.

I tried the stretch tricot stitch on my new machine for the first time.  I wasn't sure if this was the ubiquitous lightning bolt stitch that everyone recommends for sewing knits, but it worked really well.  Much more secure than my long narrow zig zag i have always used.  It's quite slow though - sewing round the outer edge of that huge collar piece took a while!  As the jersey was stable, I didn't use my walking foot.  And even my overlocker (or overlord as she is now known) played ball! You might want to add a tag at the back neckline - I had a small panic when trying on after I had added the button and buttonhole that I had totally messed with the fit, but then realised I had put it on upside down (doh!).

I added the button on quite low down to pull it in at the waist a bit, as I think this is more flattering on me, which gives a more dramatic collar.  Vicki from Minerva (the Buttonmaster General) helped me pick this fab burgundy "selfmade" button for it, but this is a great opportunity to showcase an excellent single button you might have in your button box.


This makes a great cardigan for this time of year, and it'll be a really useful jacket when the weather heats up a bit.

I have shown it here worn with a previous Minerva make - my Kelly skirt, but it goes just as well with jeans and dresses.

If you want to recreate this jacket, you can buy a kit here which includes 3m of the jersey (enough to cut the collar piece twice if you mess it up - ask me how I know!) and a "selfmade" button.


Wednesday, 15 January 2014

Minerva Blogger Network - The Blackberry dress


For this month's Minerva make I decided to make a comfy knit dress. I have lived in knit dresses this autumn / winter as they are so cosy! When  I saw Rachel from House of Pinheiro in her Dakota and felt the lovely soft fabric for myself I know i had to use it.

The pattern is a really good one - the much made, loved and blogged about New Look 6000. You might recognise it as the pattern Winnie used for her polkadot frock fest. It's a great basic darted dress pattern with  cute collar and cuff variations and a version with side pleats. I've had the pattern a while and I used it as the basic bodice for my Mad Men dress.


 As I had already worked on the fit of this one, I didn't need to make a muslin. I just traced off the  bodice pieces and added the skirt.  All bodice fit alternations were written about in detail here if you are interested!  I decided to make the version with collar and cuffs.  I had originally intend to make the side pleated version, but it has no bust darts and I couldn't wrap my tiny brain around how to do an FBA on it.  Any advice/ links?  As I'd love to make that one - it looks so flattering.
The fabric is a ponte jersey in blackberry.  Its hard to describe and the picture on the site really doesn't do it justice.  It's a greyish, purplish marl.  The reverse is slightly darker and has a stripe to it so I decided to use it for the collar and cuffs (not that it's terribly obvious from the pictures!).  It is lovely and thick, easy to sew and handle and very soft.  There have been other lovely projects made from this jersey - Rachel's Dakota as mentioned above, and Jane's Lady Skater to name a few.


Vicki from Minerva helped me with my button choice as usual. She suggested these white buttons with a black rim around them.  I think the rim really helps the buttons stand out.
I really like this make, but I am thinking about shortening the sleeves. I'm not that happy with how I finished them and I tend to prefer either 3/4 length or short sleeves. I think short sleeves will work better under a cardigan.  But it's totally wearable and I'm going to wear it a few times and see how I feel about it!


The only changes I would make would be to leave out the zip (as I can get this on and off without it).  Typical since it is probably my best invisible zip insertion to date!  I think i would also interface the collar - you can see in the back view pic that it's a little bit floppy. The pattern calls for interfacing of the cuffs but not the collar.

If you want to make your own version, you can buy a kit from Minerva here.  It includes fabric, an invisible zip, 4 small buttons and 1 large one plus matching thread.

Monday, 14 October 2013

The Sew-Right-Lizzy Renfrew


Weird pushed back hair so you can actually see the cowl

I'm probably the last sewist in the blogiverse to have made a Renfrew, but why did I wait so long?

I bought the pattern after Me Made May and got the fabric in Goldhawk Road in July with Alison (oops, didn't realise it had been that long!).

This was actually my second Renfrew (first is yet to be photographed - stay tuned!) and after mentioning it on Twitter and hearing that I had a nice drapey viscose knit, Lizzy told me i had to make the cowl version.  I wasn't sure and didn't think i had enough fabric but I decided to give it a go (on the basis that I could always replace it with a neckband since the pattern pieces for the body are the same).  I'm so glad I did as I really like it!

I cut a size 10, and it's actually quite long so I didn't need to lengthen it, surprisingly. To fit it on the fabric I had, I took about 3/4" of the top of the cowl and sewed it together with a 1/4" seam allowance, so it's not far off the size of the pattern.  I also used the 3/4 length sleeves (which I like anyway, especially with the cuffs).

I managed to sew up 2 of these in one weekend so it's a nice quick and gratifying make - will definitely be making more!

Look up there! Honestly it's not another pic of a black t-shirt!


And I owe it all to you Lizzy - you were right! Thanks for the encouragement to make something I usually wouldn't consider!

Am doing pretty well on my FESA list (not so much on keeping up the blogging of it but i'll get there soon!).  Another Renfrew, my bowling dress and a skirt to come soon!

Sunday, 20 January 2013

Finished - My first Tira

I've only actually made one Tiramisu dress and this is it:

'Scuse the face - it was freezing!


But I know it won't be the last!  I fact I've got some aubergine coloured ponte jersey for the next one.

For this dress I used a poly knit which is charcoal grey with a kind of mohair effect - this worked for me as I can't wear wool and I wanted something warmer than a cotton jersey.  As you can see we have snow, and this was actually warm enough (with a cardigan) to wear to work the other day.

The pattern has different pattern pieces for different high bust measurements (including cup sizes) and waist measurements whch you mix and match for the best fit.  You use the bust and waist measurements to construct the midriff panel, making a perfect fit easy to achieve, especially if you don't fit a standard size.  It's also really easy to use a basted fitting to tweak the size during contruction (and even afterwards).


I used the 35 size bodice in a b-cup.  I had to take 1" off the bottom of the bodice after a basted fitting of the top.  I was getting a lot of gape at the front, so I shifted the centre front of each piece but 3/4" so there was more of a crossover, which fixed that easily enough.I wanted to avoid an empire line look as it really doesn't suit me, so I lengthened the midriff piece by 2".  I cut a 30" waist skirt with a 40" length (but I think I trimmed off too much in hemming and would leave it longer the next time.  The binding goes on flat really neatly.

It's such a good pattern and I'mlooking forward to seeing her other designs - I have preordered Pavlova and she's recently announced her new designs Lammington and Hummingbird.

Steph has run a really great 30 minutes a day sewalong, and i was surprised to find this really worked well for me.  It definitely got me sewing on days when I normally wouldn't have bothered as I didn't think I had enough time.  I think I also took more time with each section as I wasn't rushing to get it done - the topstitching on this is some of the neatest I have done, just because I slowed down a bit!  She put in so much work with all the posts and guidance on getting a great fit and advice on sewing with knits.

Sod this, it's too cold!


This one's definitely a keeper and I completely recommend it to beginners to garment sewing or people new to sewing with knits.  I think Steph is going to leave up the sewalong posts for future reference.  As is her usual style, she's going to be posting way to hack the pattern and change it up, which will be great - I definitely need to try a long sleeved version.


Sunday, 24 June 2012

More Burda, less burden


Completed my second Burda top that I had planned. This one was considerably
simpler than the previous one - they really weren't joking when it was
marked "easy" in the magazine! 2 pattern pieces, 4 seams and a hem. But it
was great as my second foray into the world of knits.

I did have (as ever!) a small disaster with cutting. This is my least
favourite part of sewing - I think I'm just not very good at it and it
seems to hold me back from getting on with the actual sewing. This time, I
didn't lay out both pattern pieces onto the fabric before I started and of
course on cutting the front, hadn't left enough room for the back to be cut
on the bias as it was supposed to be. I got around this but cutting on the
grain (since the back didn't really need to be drapey) and taking about an
inch off the length (it's a long top so this was fine).

Having not properly read the notions before buying the things I needed, I
had totally missed the fact I was supposed to use Vilene stay tape and had
bought normal twill tape. But undeterred I soldiered on and attached using
a wide zig zag stich onto shoulders and back of the neck.

I stitched the shoulder and side seams and realised that as with the
previous burda one, it was miles too big! I ended up taking it in about 4
INCHES in circumference, which must be at least 3 sizes down from my
measured size. In future I'll be taking Gertie's advice about measuring the
pattern and comparing to a similar item that I like the fit of. It was hard
to tissue fit this due to the stiffness of tissue vs the drapiness of the
jersey. But still, why Burda? I have also read about sewing using the high
bust measurement rather than actual bust so that's worth considering too.

Given the taking in I had to do, the top has more of a sleeve than in the
picture as I had to curve the seam under the arm to avoid unpicking the
shoulder seams (lazy me!). But I'm happy with it.

And my first successful attempt at hemming with a double needle! It's not
perfect but I think it's OK. There are a few bits where the edge curled and
it didn't catch and you can't see as you are sewing on the right side - I
think perhaps improving my cutting accuracy would help there.


So that's one item on my summer palette done and blogged!

Sunday, 13 May 2012

Burda.. umm... meh

Blogging has fallen off the radar recently due to a last minute holiday being booked and N having no summer clothes that fit (not that it's been a problem with the British Summer so far!) hence I have had to bring all of my plans for her forward.    Still been reading a lot of other people's blogs but not writing much of my own!

About that Burda top I mentioned previously... As I was beginning to suspect after having battled with the horrible pattern sheet, lack of seam allowances and dodgy instructions, the top ended up being a bit meh.  As I was worried about how hard it would be to sew with knit fabric, I ended up with one that was the right weight (and I actually had no problems sewing it) but it was a very pale lilac and I don't think that helped!  It's also the kind of top where I know the facing will always pop out around the neck.  By the end of it I didn't actually bother to slipstitch the hem - i just machined it.

Although I'm not that happy with the end result I think I learnt a lot with this one.  I discovered that knits aren't as scary as I thought!    I also don't think I'll bother to settle for fabric I don't love as clearly I won't love the finished garment.  The pleated sleeves were pretty complicated, especially with the strange Burda instructions but I managed to figure it out - and also learnt the importance of pinning it all up and checking to make sure it looks right before stitching.  The seam ripper was a good friend of mine by the end of this one!  I was surprised by how big it ended up - I must have taken it down by about 3 or 4 inches all round and it's still pretty big!  I think I was between sizes and went for the larger one but I think after this experience (and reading this blog post from Gertie about pattern ease and sizing) I'll probably go for a smaller size and try to tissue fit until I get more experienced.

I wasn't actually going to post a pic but since I can't find a pic of the pattern online this is all a bit cryptic without one! So here you go:


An attempt to show the fancy pleated sleeves:


Terrible pics, but the top really doesn't warrant proper photos! 

I've got a few projects to blog about - quite a few for N and a full skirt for me which is part of my Summer Palette plans.  So hopefully more to come this week (especially if the weather behaves and I can get N to pose in her clothes!).

Next sewing project is another Burda one (I must be mad!) but much simpler this time.  A plain knit tshirt.  Hopefully it will come out slightly better!